
Chocolate Brownie with White Chocolate Cheesecake Top
This past week was busier than I expected. Not only was it my husband’s birthday but we got a (somewhat unplanned) visit from a friend who lives in Boston (Massachusetts). To celebrate, we set about coming up with this cake together, and I think we were all agreed it came out scrumptious! The combination of dense, dark brownie with creamy white topping is delicious.
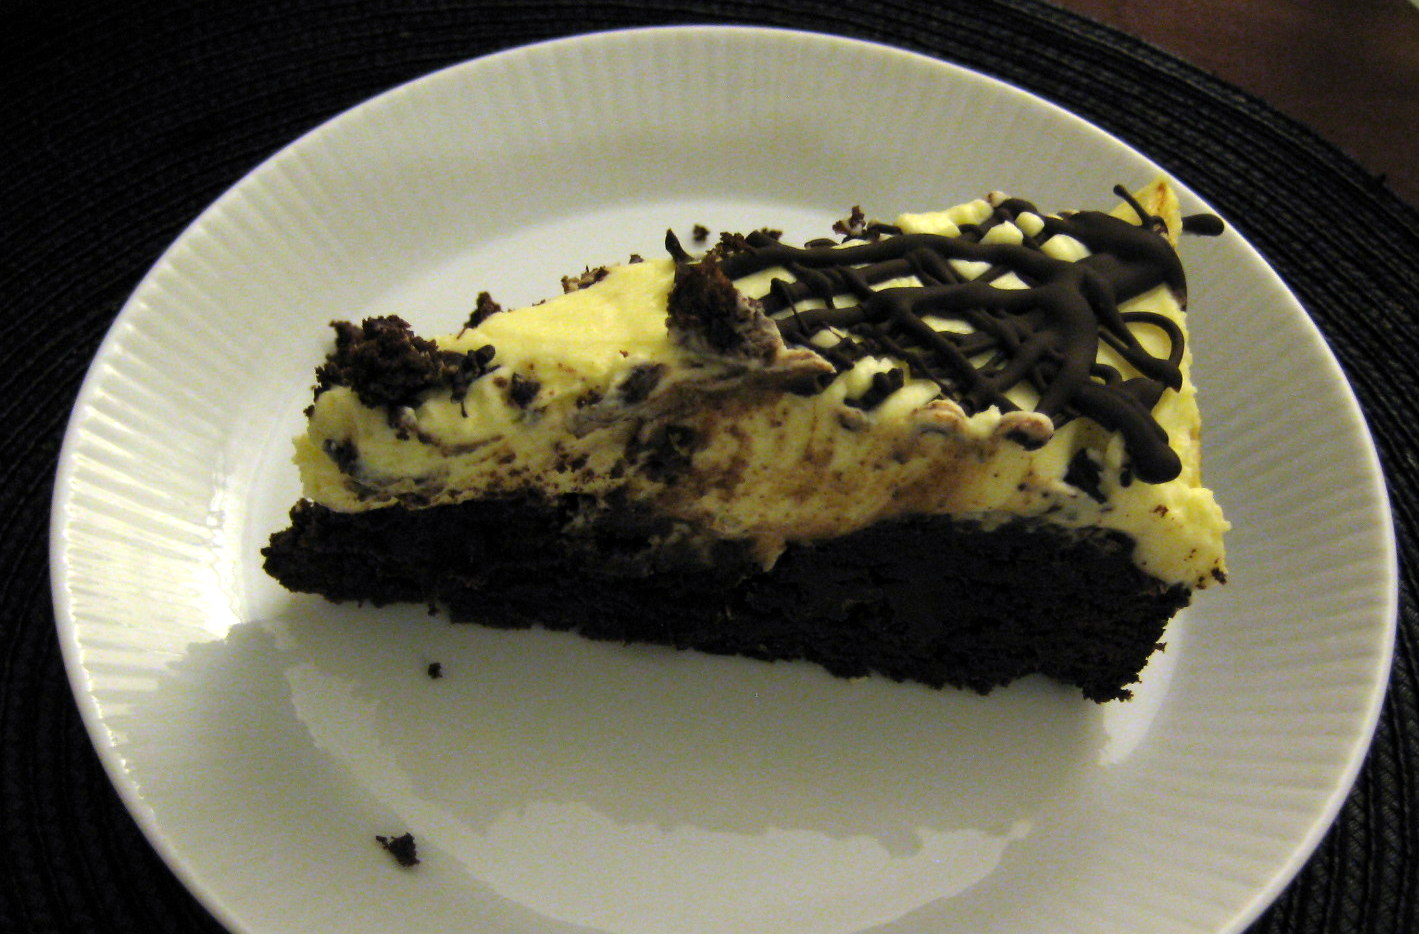
This piece did not last long…
The brownie base can be made as a plain brownie, if you prefer, and is a recipe based on one given me by my sister-in-law. I often make it and just sprinkle on some chopped hazelnuts before baking.
If you want to make a plain cheesecake, just double the cheesecake ingredients and spread the mixture over your biscuit base.
This cake is pretty easy, but you will need to allow time to for it to cool at various stages.

Dark and fudgy yet light and creamy… yum!
Recipe (makes 12 servings):
For the chocolate brownie:
- 300g caster sugar
- 250g butter
- 4 eggs (3 whole, plus 1 yolk)
- 60g plain flour
- 60g cocoa powder
- 1/2tsp baking powder
- 200g melted dark chocolate (70% cocoa or more)
- 50g chopped chocolate (I use dark chocolate)
- 30g sultanas (optional)
For the white chocolate cheesecake top:
- 100g white chocolate
- 200g soft cheese
- 70g caster sugar
- 300ml double cream
- 2tsp vanilla bean paste, or vanilla extract
To decorate:
- 50g dark chocolate, melted
- Paper number templates of your choice
First make the chocolate brownie. You will need to grease and line the bottom of a 9” (23cm) springform cake tin. Preheat the oven to 180°C.
Cream together the butter and sugar, then beat in the eggs plus the yolk, one at a time. Stir in the melted chocolate. Sift in the flour, cocoa and baking powder and fold in. Add the sultanas and chopped chocolate, scrape into the tin and smooth down. Bake for 40mins or until a skewer comes out with no raw mixture on it (a little cooked mixture is fine, the finished brownie is meant to be fudgy).
Leave the cake in the tin to cool.

Cooled brownie :)
To make the cheesecake topping, first melt the white chocolate and leave to cool. Beat the sugar, vanilla and soft cheese together in a large bowl. In a separate bowl, whisk the cream until stiff. Stir the chocolate into the cheese mixture, and then fold in the whipped cream. Spread evenly over the chocolate brownie and smooth the top. Chill the cake for 3 hours (or longer if you can).
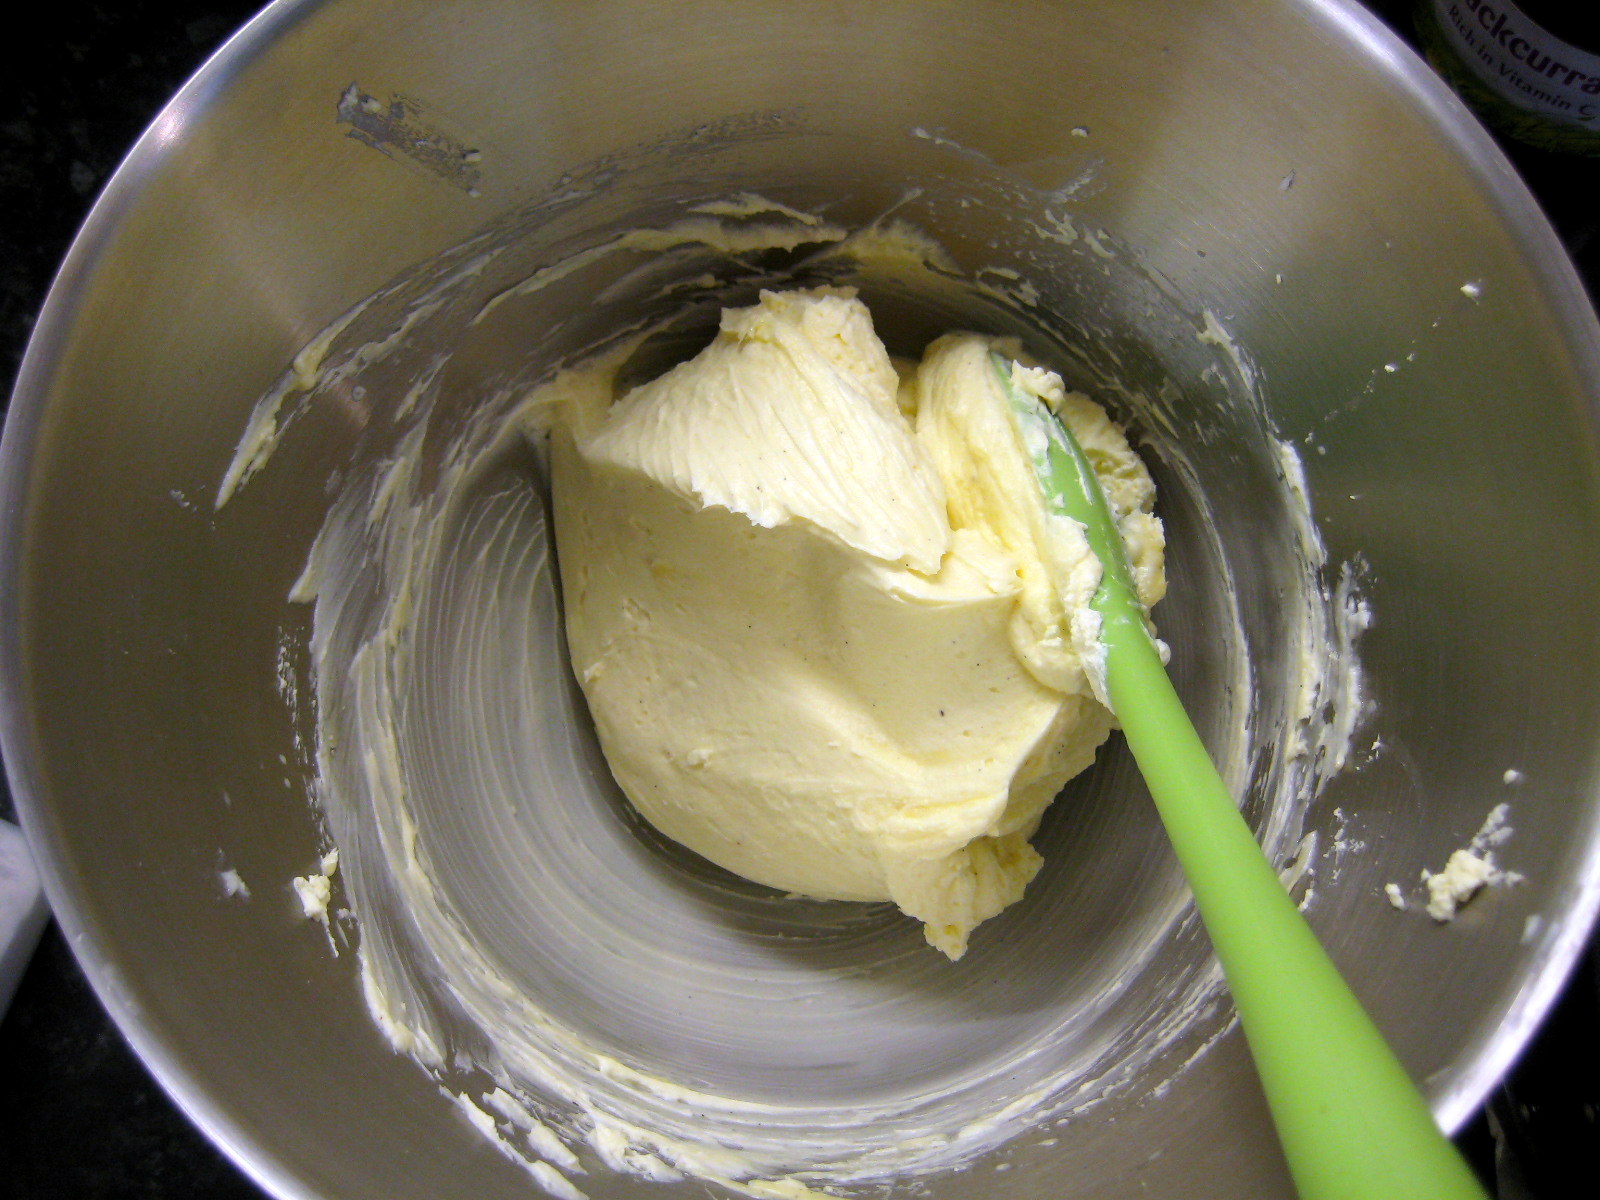
Cheesecake mixture
Once the cheesecake has set, run a palette knife around the tin sides to loosen and remove the tin sides. Carefully lift the cake off the base of the tin and onto the serving plate.

Just add melted chocolate
To decorate, place the templates onto the cake and then drizzle the chocolate back and forth over the top. You will want to do this quickly because the chocolate will set fast due to the cheesecake being cold! Remove the paper templates right away else the chocolate will be set and you will end up lifting off half your decoration!

Voila!
What favourite desserts should I set about combining next time? ;)


You have no idea how upset I am not to have been visiting when this was created!
Next time perhaps? :)
That wet sloppy noise is the sound of my salivary glands doing the doo wop. The cake looks beautiful.
Thanks!
A delicious work of art, almost a shame to cut into it! I say ALMOST!
I had not qualms! Totally worth it :)
Mmmmmm, I am salivating at the thought of this! Do you fancy popping one in the post for me?!
Sounds practical to me! ;)
Pingback: Crochet Jar Cover III: Lattice Effect | Make My Day Creative
Pingback: Chocolate-to-the-Max Cake | Make My Day Creative