
Lattice Effect
If you have been wondering what happened to the last in my series of jar candle covers, the wait is over! This would have been up sooner, but I thought it was worth interrupting the series for last week’s post on chocolate brownie cake…
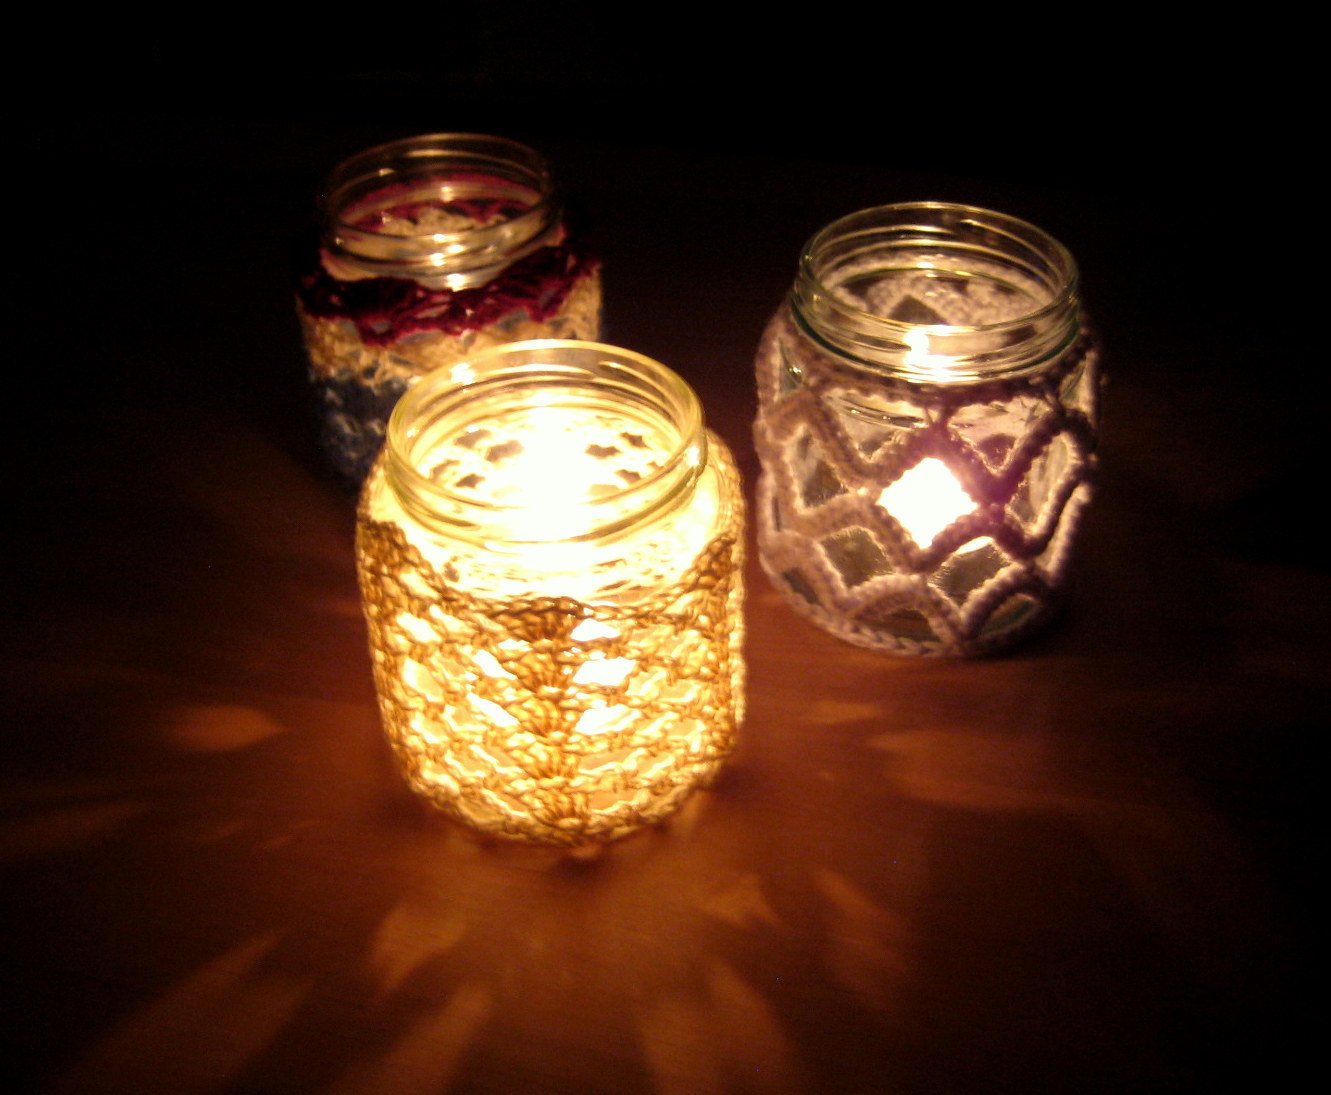
Pretty shadows from these crochet jar candle covers
This variation on a jar cover is a lot more open than the others, and lets lots of candle light through… it is also the one my husband likes the most, I guess being less lacy makes it more “man-friendly”! Which of these 3 jar covers is your favourite?

My series of 3 candle covers
Materials:
- Left over stash yarn and matching hook; I used Sirdar snuggly dk and a size 4.00mm hook
- Buttons (you may not need these depending on your gauge and jar size)
- Jar Candle – why not read my post on how to make your own?
Gauge:
It is best to make a quick swatch and then see what your own gauge is. You can adjust the number of pattern repeats to match the circumference of your jar. The mesh is very stretchy, so make it on the small side for a snug fit.
If you make it too small you can always add a few rows of single crochet down the length and add some buttons as I did in my Split Shells Pattern.
My jar was 24cm around, each pattern repeat was 2.75cm, so I did 8 pattern repeats for a 22cm cover which stretched over easily- this cover has much more stretch than the last two!
Special stitch: Double treble crochet (dtr)
Yarn over hook 3 times, insert hook in st, yarn over, draw up a loop (5 loops on hook). *Yarn over, draw through 2 loops, repeat from * 3 more times (one loop left on hook).

Crochet Jar Cover III: Lattice Effect
Pattern:
Ch 42 (or 5n + 2, where n= number of pattern repeats)
R1: sc in 2nd ch from hook and in each chain along.
R2: ch1, turn, sc in 1st st, *ch6, sk4 sts, sc, repeat from * to end.
R3: ch1, turn. *12sc in ch-sp, repeat from * to end.
R4: ch5 (counts as dtr), turn, ch3, sk6 sts, *sc, ch 6, sk12 sts, repeat from * to end, finish with a ch3, dtr.
R5: ch1, turn. 6sc in chsp, *12sc in next ch-cp, repeat from * to second to last ch-sp, 6sc in final ch-sp.
R6: ch1, turn, sc in first sc, *ch6, sk 12 sts, sc, repeat from * to end.
Repeat rows 3-6 until the piece is almost tall enough after a row 3 or 5 (you will do 2 rows to finish).
To finish after a row 3:
Penultimate row: ch3 (counts as dc), ch2, sk6 sts, *sc, ch4, sk12 sts, repeat from * to end, finish with a ch2, dc.
Final row: ch1, turn. 2sc in ch-sp, *4sc in ch-sp, repeat from *to 2nd to last ch space, 2sc in last ch-sp.
To finish after a row 5:
Penultimate row: *ch4, sk12 sts, sc, repeat from * to end, ch1, turn.
Final row: ch1, turn. *4sc in ch-sp, repeat from *to end.
Finishing:
If your piece is the exact right size, fasten off with a long tail. Use the tail to sew the 1st and last dc’s and dtr’s of each row together to hide the join. Weave in all ends.
If your piece is a little small, do not fasten off. Ch 1 and turn, then sc evenly down the sides to add width. Do this until the piece is the right size. Then either seam together and add decorative buttons, or sc down the other side also and add button loops for a closure.
Safety first!
Make your crochet cover shorter than the lip of your jar, you do not want your yarn catching on fire!


Gorgeous!
Thank you! :)
Thanks!!! I’ve been wanting this pattern :)
You’re welcome! :)
Pingback: Icy candles | lanathewoolydog