
Picked my own!
I had a great time at my local pick your own this weekend, which resulted in 22 jars of jam! Not bad for a day’s work. If you have one near you, I would recommend checking it out because you can get great fruit at great prices, and it’s fun too!
We skipped the strawberries because they were very popular and went for blackcurrants instead where it was a bit quieter. Then raspberries, red and white currants, and gooseberries!
Tips: If you are picking your own, pick the prickly fruits like gooseberries and blackberries last, as once your hands get prickled you won’t want to get juice on them, and you’ll get tired of picking soon after you are prickled! Also, it is worth walking towards the back of the rows of fruit because less people will have picked there before you.

22 jars of jam later… :)
I love jam and chutney making. I was introduced by my grandmother at a young age (my granddad grew the fruit, she jammed it!) and a few years ago I got this great book which includes recipes on how to use your jams and chutneys as well as jam and chutney recipes: Jam, Jelly and Relish.
I thought I would share a few tips here so you can have a go yourself. Don’t be scared to give it a try, it is really a very easy process. I can sum it up as follows: fruit + sugar + heat = jam!
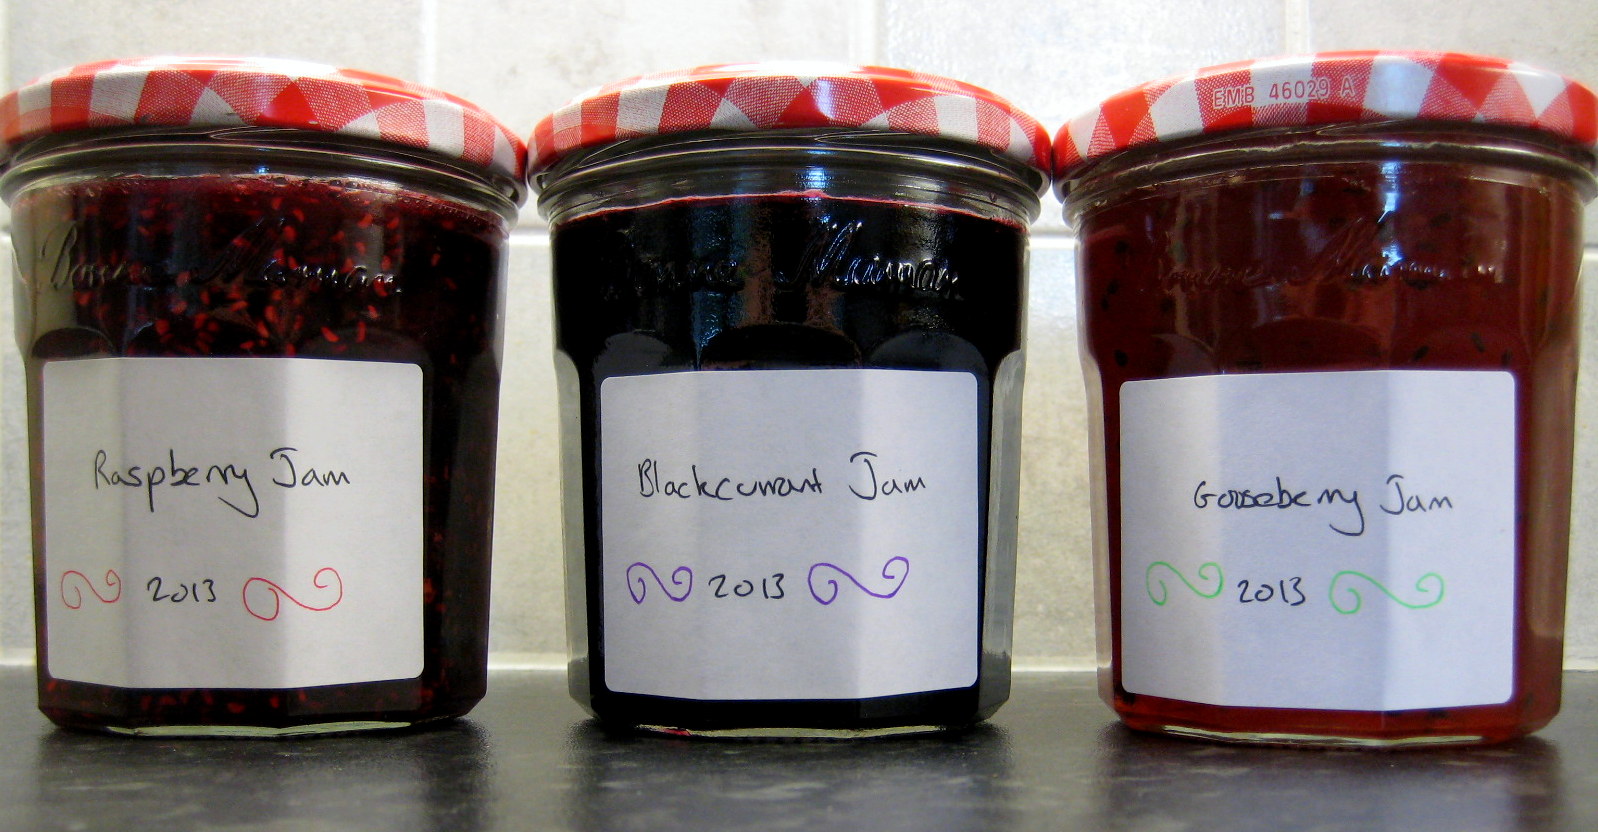
All labeled up
Fruit and Sugar
You can make jam using regular granulated sugar or jam sugar. Jam sugar has added pectin which can help your jam set, and is best used for soft fruits like strawberries and raspberries (think fruit you wouldn’t cook before eating). I use granulated sugar for fruit you cook before eating, like rhubarb, gooseberries and currants.
You can make most jam using a 1:1 weight ratio of fruit to sugar. For soft fruits, I like to macerate the fruit for a few hours before cooking. All you do is put the fruit and sugar in a large bowl and leave it till the juices have run out. You may want to add the juice of a lemon, particularly if you find strawberry and raspberry jam a little sweet.
For fruit you usually cook, you will need to add a little water (rule of thumb: 300ml per 1kg fruit) and poach it till cooked. Then add the sugar.
Then to make the jam, increase the heat and boil until the jam has reached setting point.
Testing for a set
I think testing for a set is the reason most people are scared of jam making. However, this is really easy to do; you can either measure the temperature or test using refrigerated plates.
If you are using a thermometer (available for less than £10 on Amazon), just heat until the jam reaches 104.5°C.
If you don’t have a thermometer, put some plates in the fridge before you start making the jam. Once you have boiled the jam for 10mins or so on high heat, drop a little of the jam onto a plate and place it back in the fridge for 30s. Then draw your finger through the jam on the plate. If it wrinkles on the surface, your jam is ready. If not, keep boiling and test again after 3minutes or so.
Equipment
You will need a large saucepan or maslin pan. I use my large casserole pan! Make sure your pan has plenty of space for boiling up the jam, as some jams can get a lot of froth on the top. It should be less than half full before you boil it.
I really recommend buying a jam funnel because getting hot jam into jars is a messy and potentially dangerous job without one! On the same note, a ladle is pretty useful for decanting the jam from pan to jar.
You may also wish to buy a jam thermometer, and waxed paper circles (to seal the surface of the jam once it is in your jar).
Jars
I save suitable jars from other products I buy, especially if they have plain lids or pretty lids. I also buy jars if I know I am making jam as a gift and want all the jars to match. Lakeland is always a good bet if you want to buy jars.
To sterilise jars, wash them up and dry with a clean tea towel. Then pop them in the oven at 150°C for at least 15mins (including the lids) before use to sterilise.
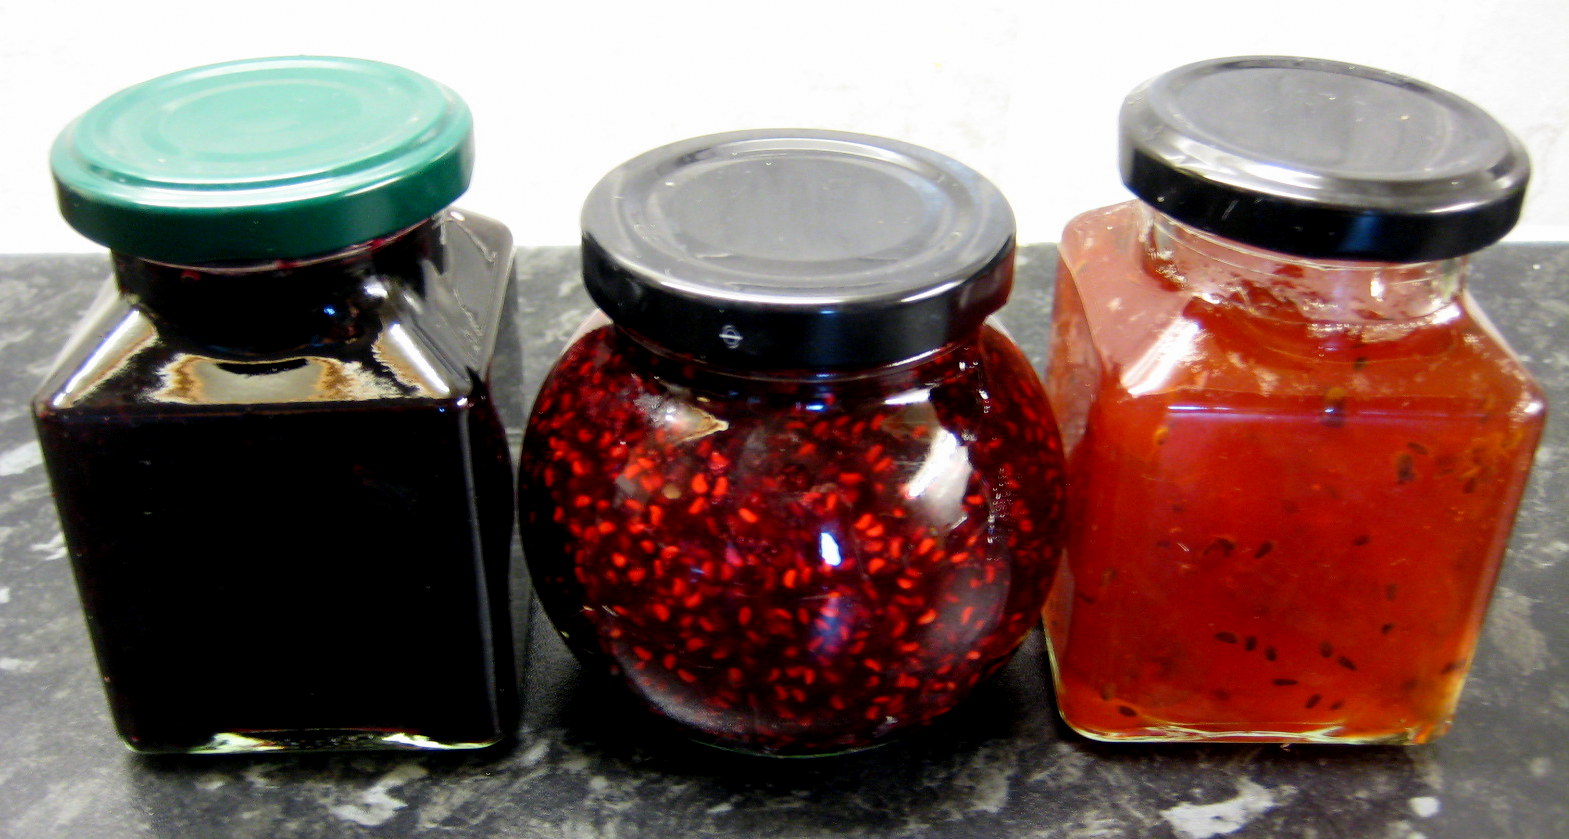
I save pretty jars to re-use


excellent. I only made it to 7lb of strawberry jam after my outing but then they only had strawberries. I want gooseberries…
Well done! Yes gooseberries can be hard to get so I was determined to make the most of it despite he prickles!
Awesome! Thanks for the advice! I’ve never made jam before.
I say go for it! :)
Pingback: How to make Jar Candles | Make My Day Creative
Pingback: Gifts for Grandparents | Make My Day Creative
Pingback: Apricot and Vanilla Jam | Make My Day Creative