
Linoprinted cards
I picked up a flyer for the Ministry of Craft a few months ago and found myself quite tempted by a linoprinting course. As you know, I am always excited to try a new craft, and since I have dabbled with most of the other courses they offered I thought it would be good to try this one.
If you don’t know, linoprinting is when you cut a design into a piece of lino, paint it, and then transfer the image by printing it onto paper, card, textiles, etc.
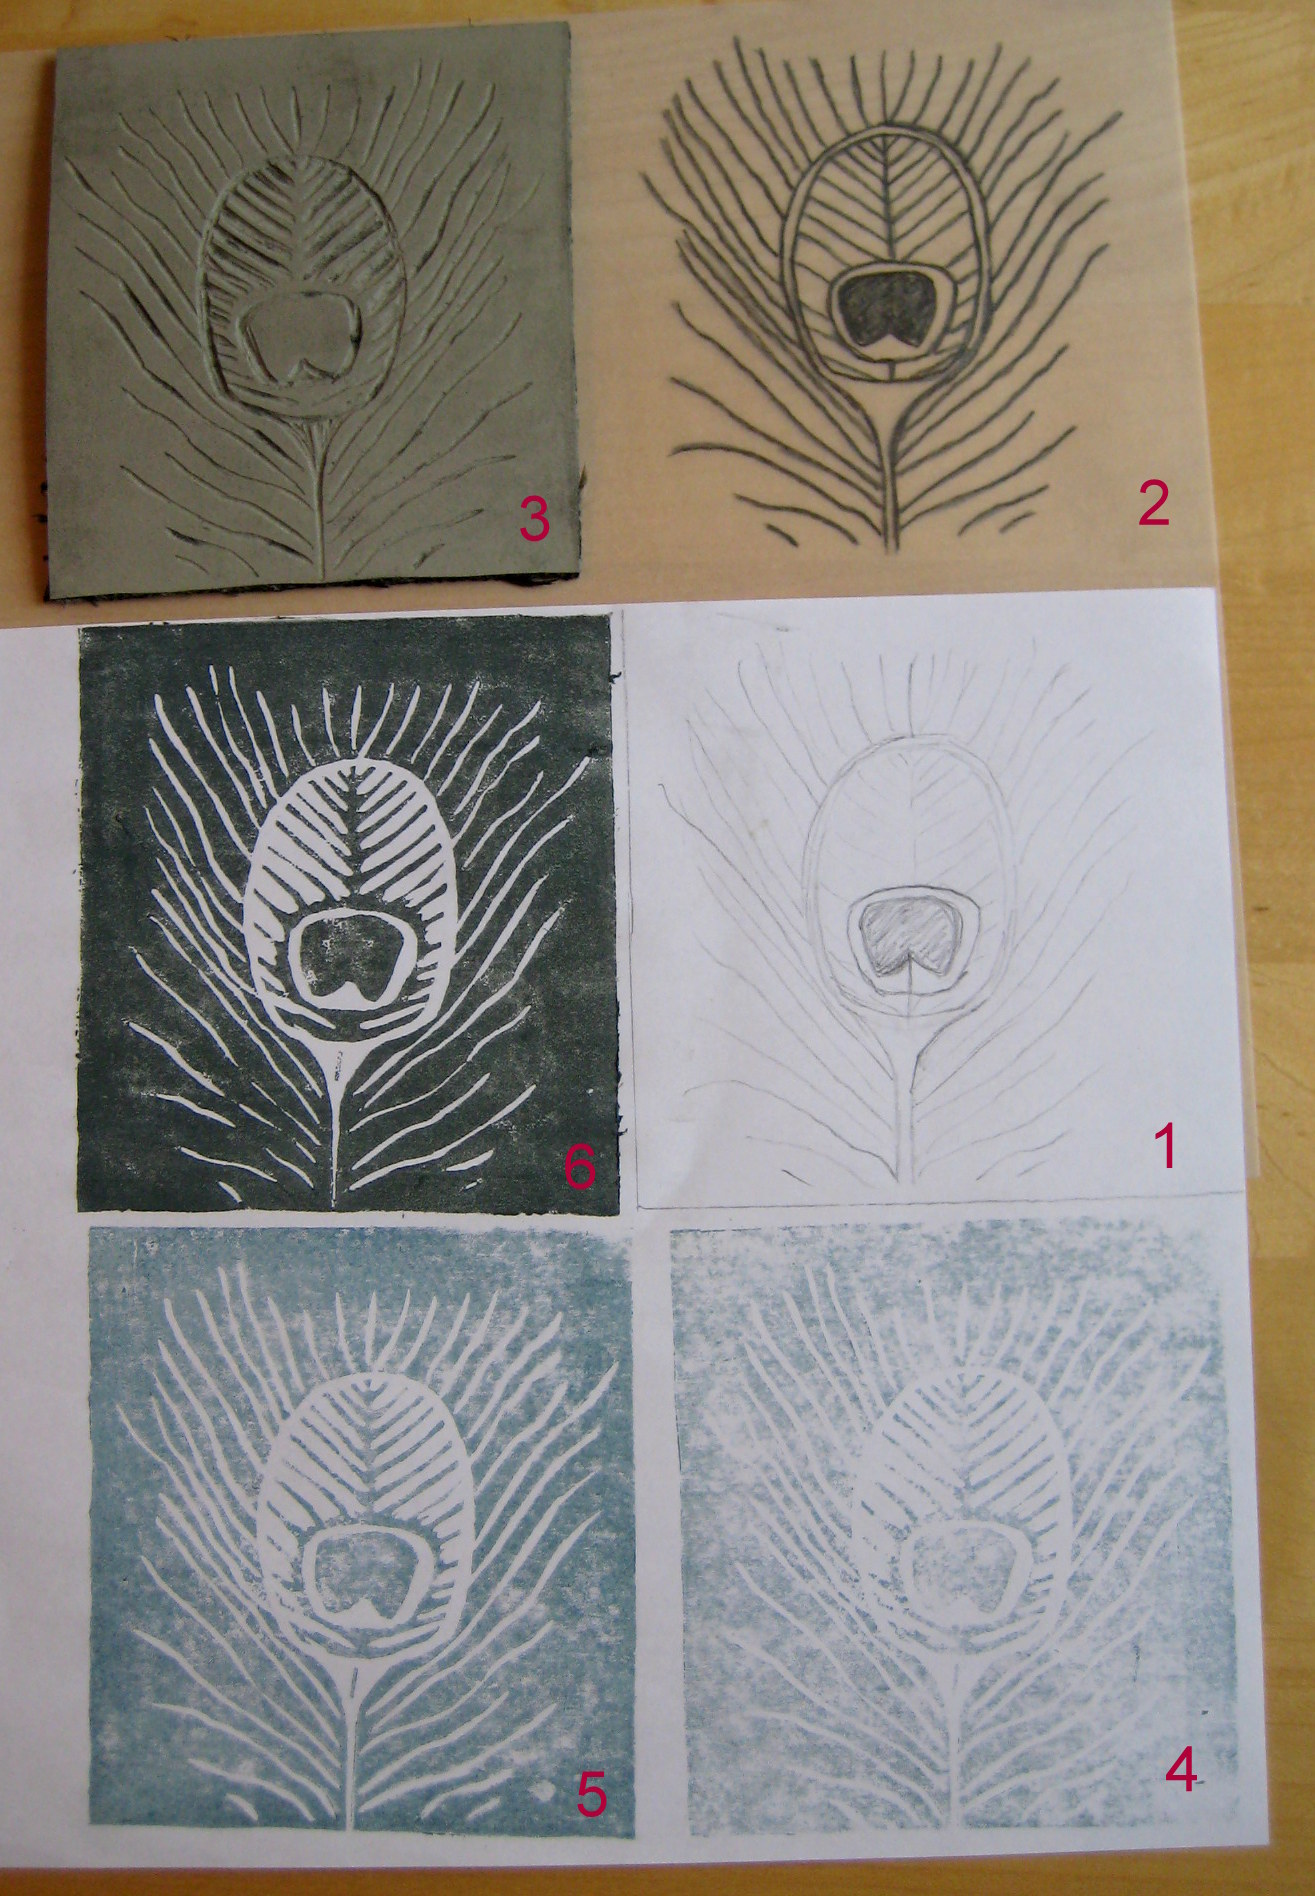
1: My sketch, 2: Tracing design for transfer to lino, 3: Linocut, 4: First print always comes out fainty, 5&6: Trial prints
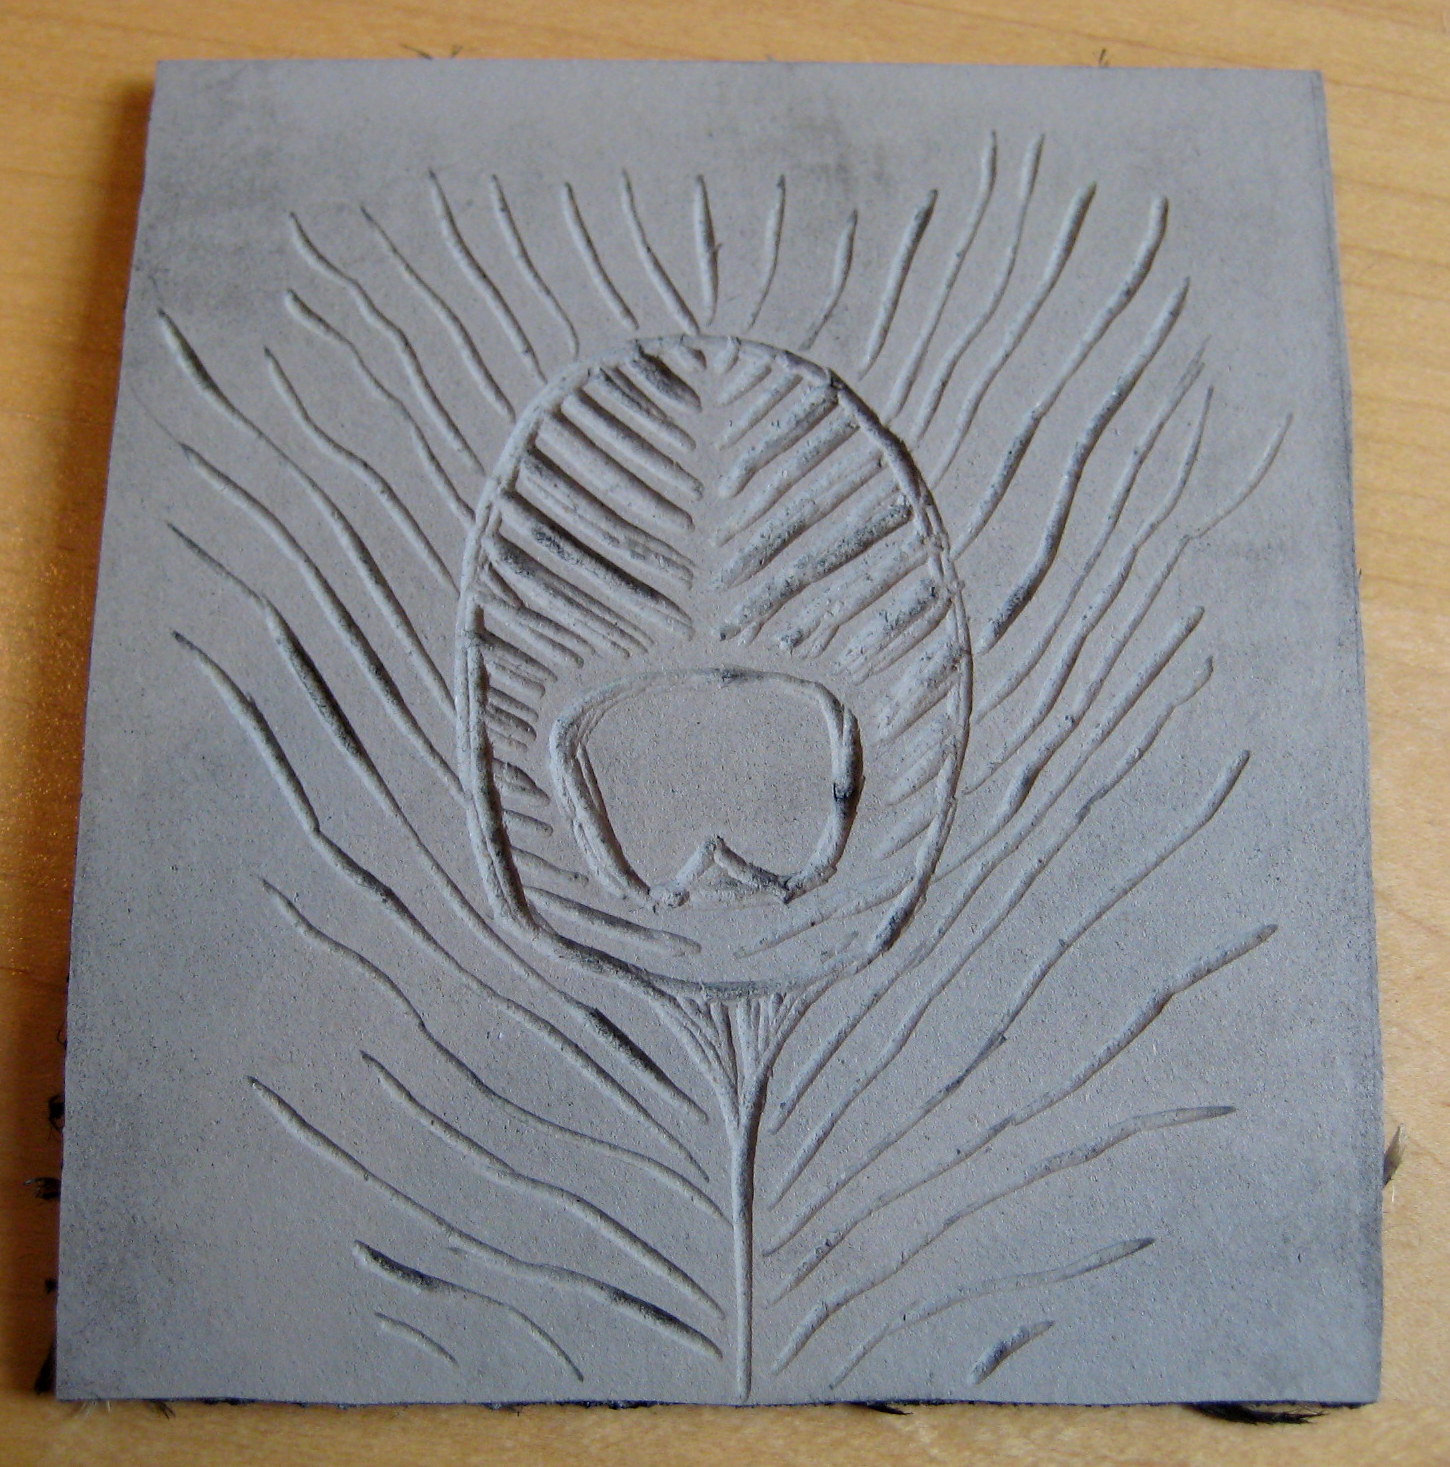
Linocut close up
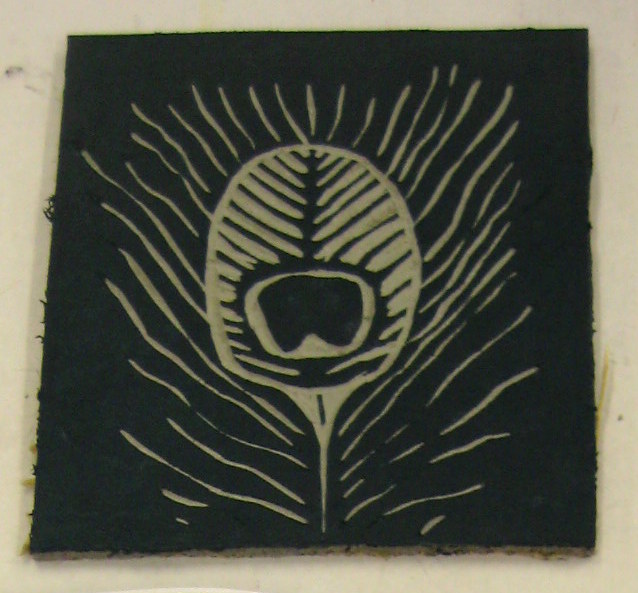
Linocut all inked up and ready to print!
For some reason I was really nervous about the class but I needn’t have been! The teacher was lovely and the other people in the class were all friendly too. I loved the silence that descended as we all set about cutting our designs out, a totally absorbing activity.
I sketched up a peacock feather design as I thought the feathery lines would work quite well with the cutting technique. We were provided with lots of cards and fabric to print onto, and also tea towels and bags for a small fee. I did a tea towel in black ink to match my black and white kitchen.
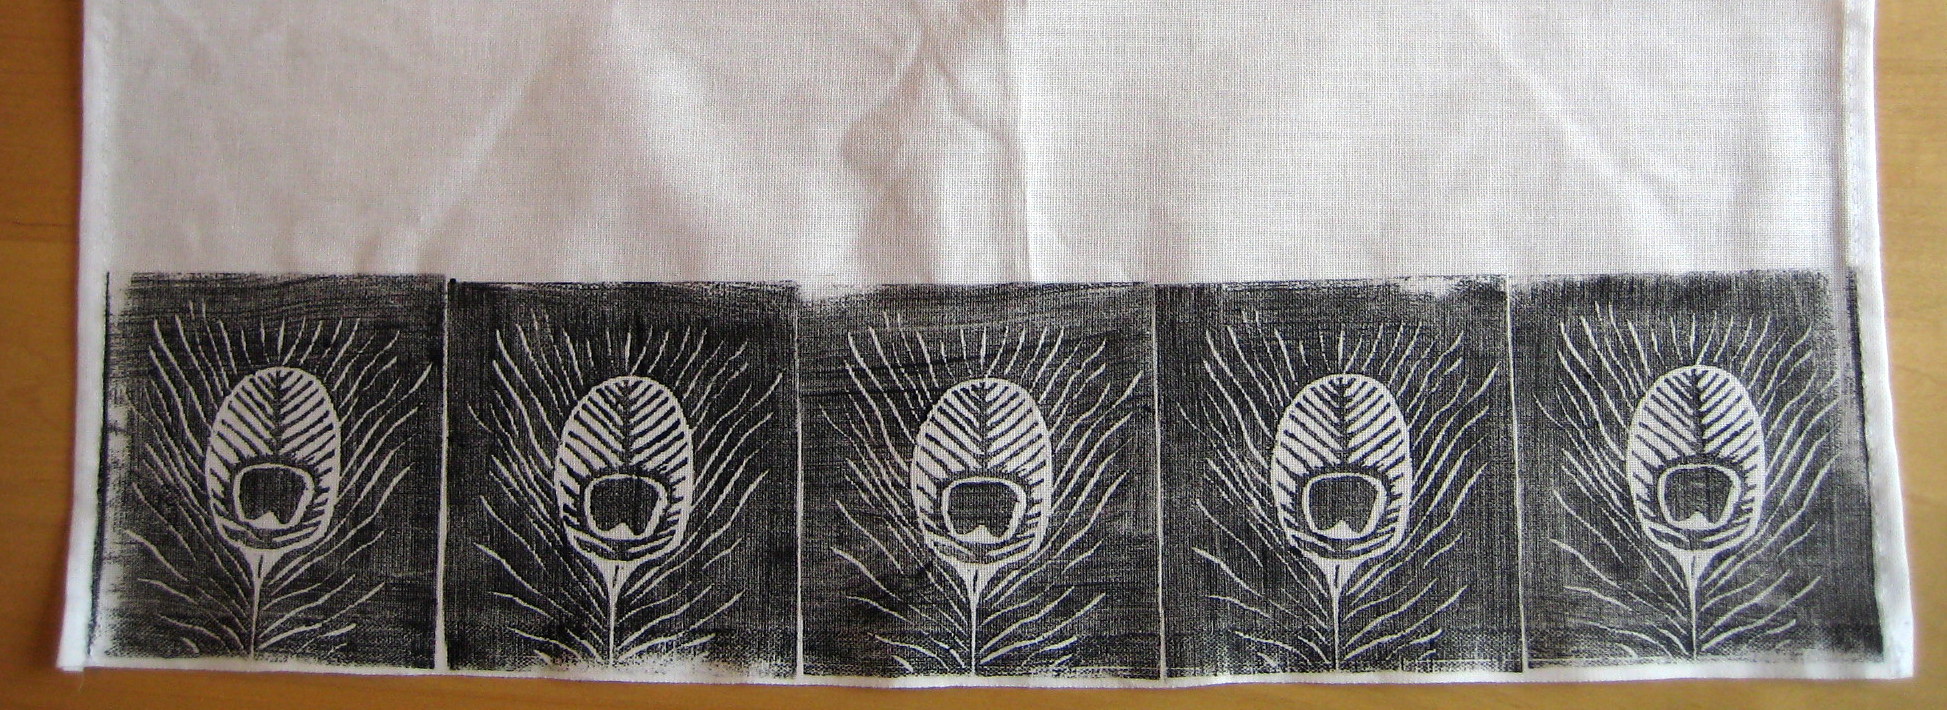
Border print tea towel
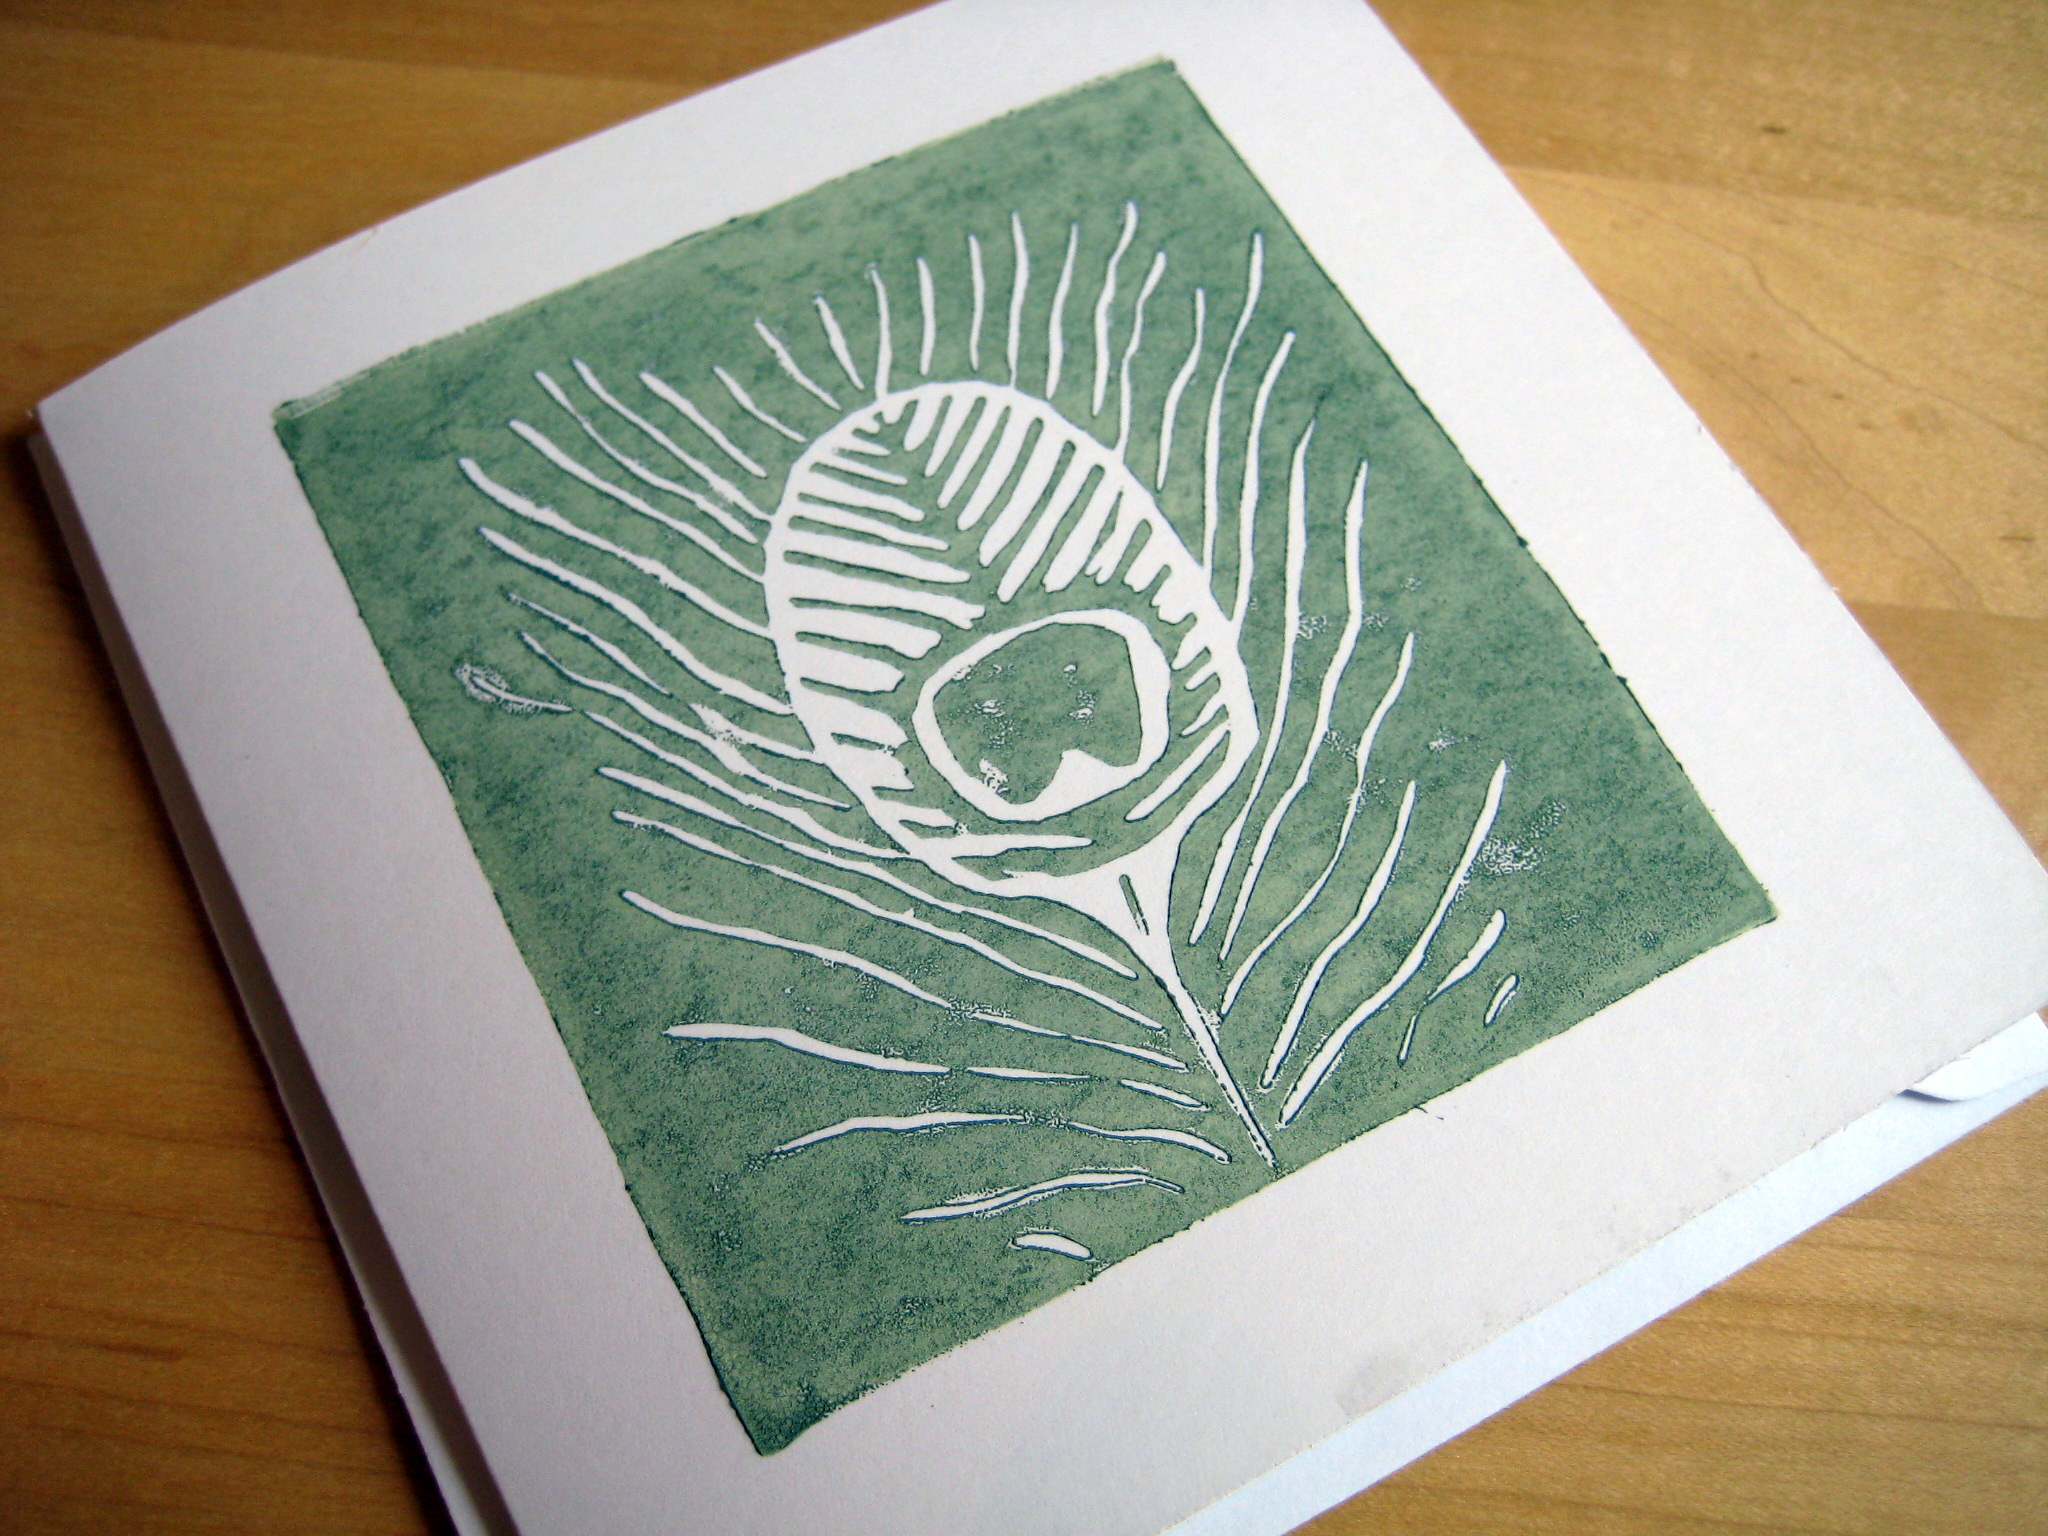
Printed card
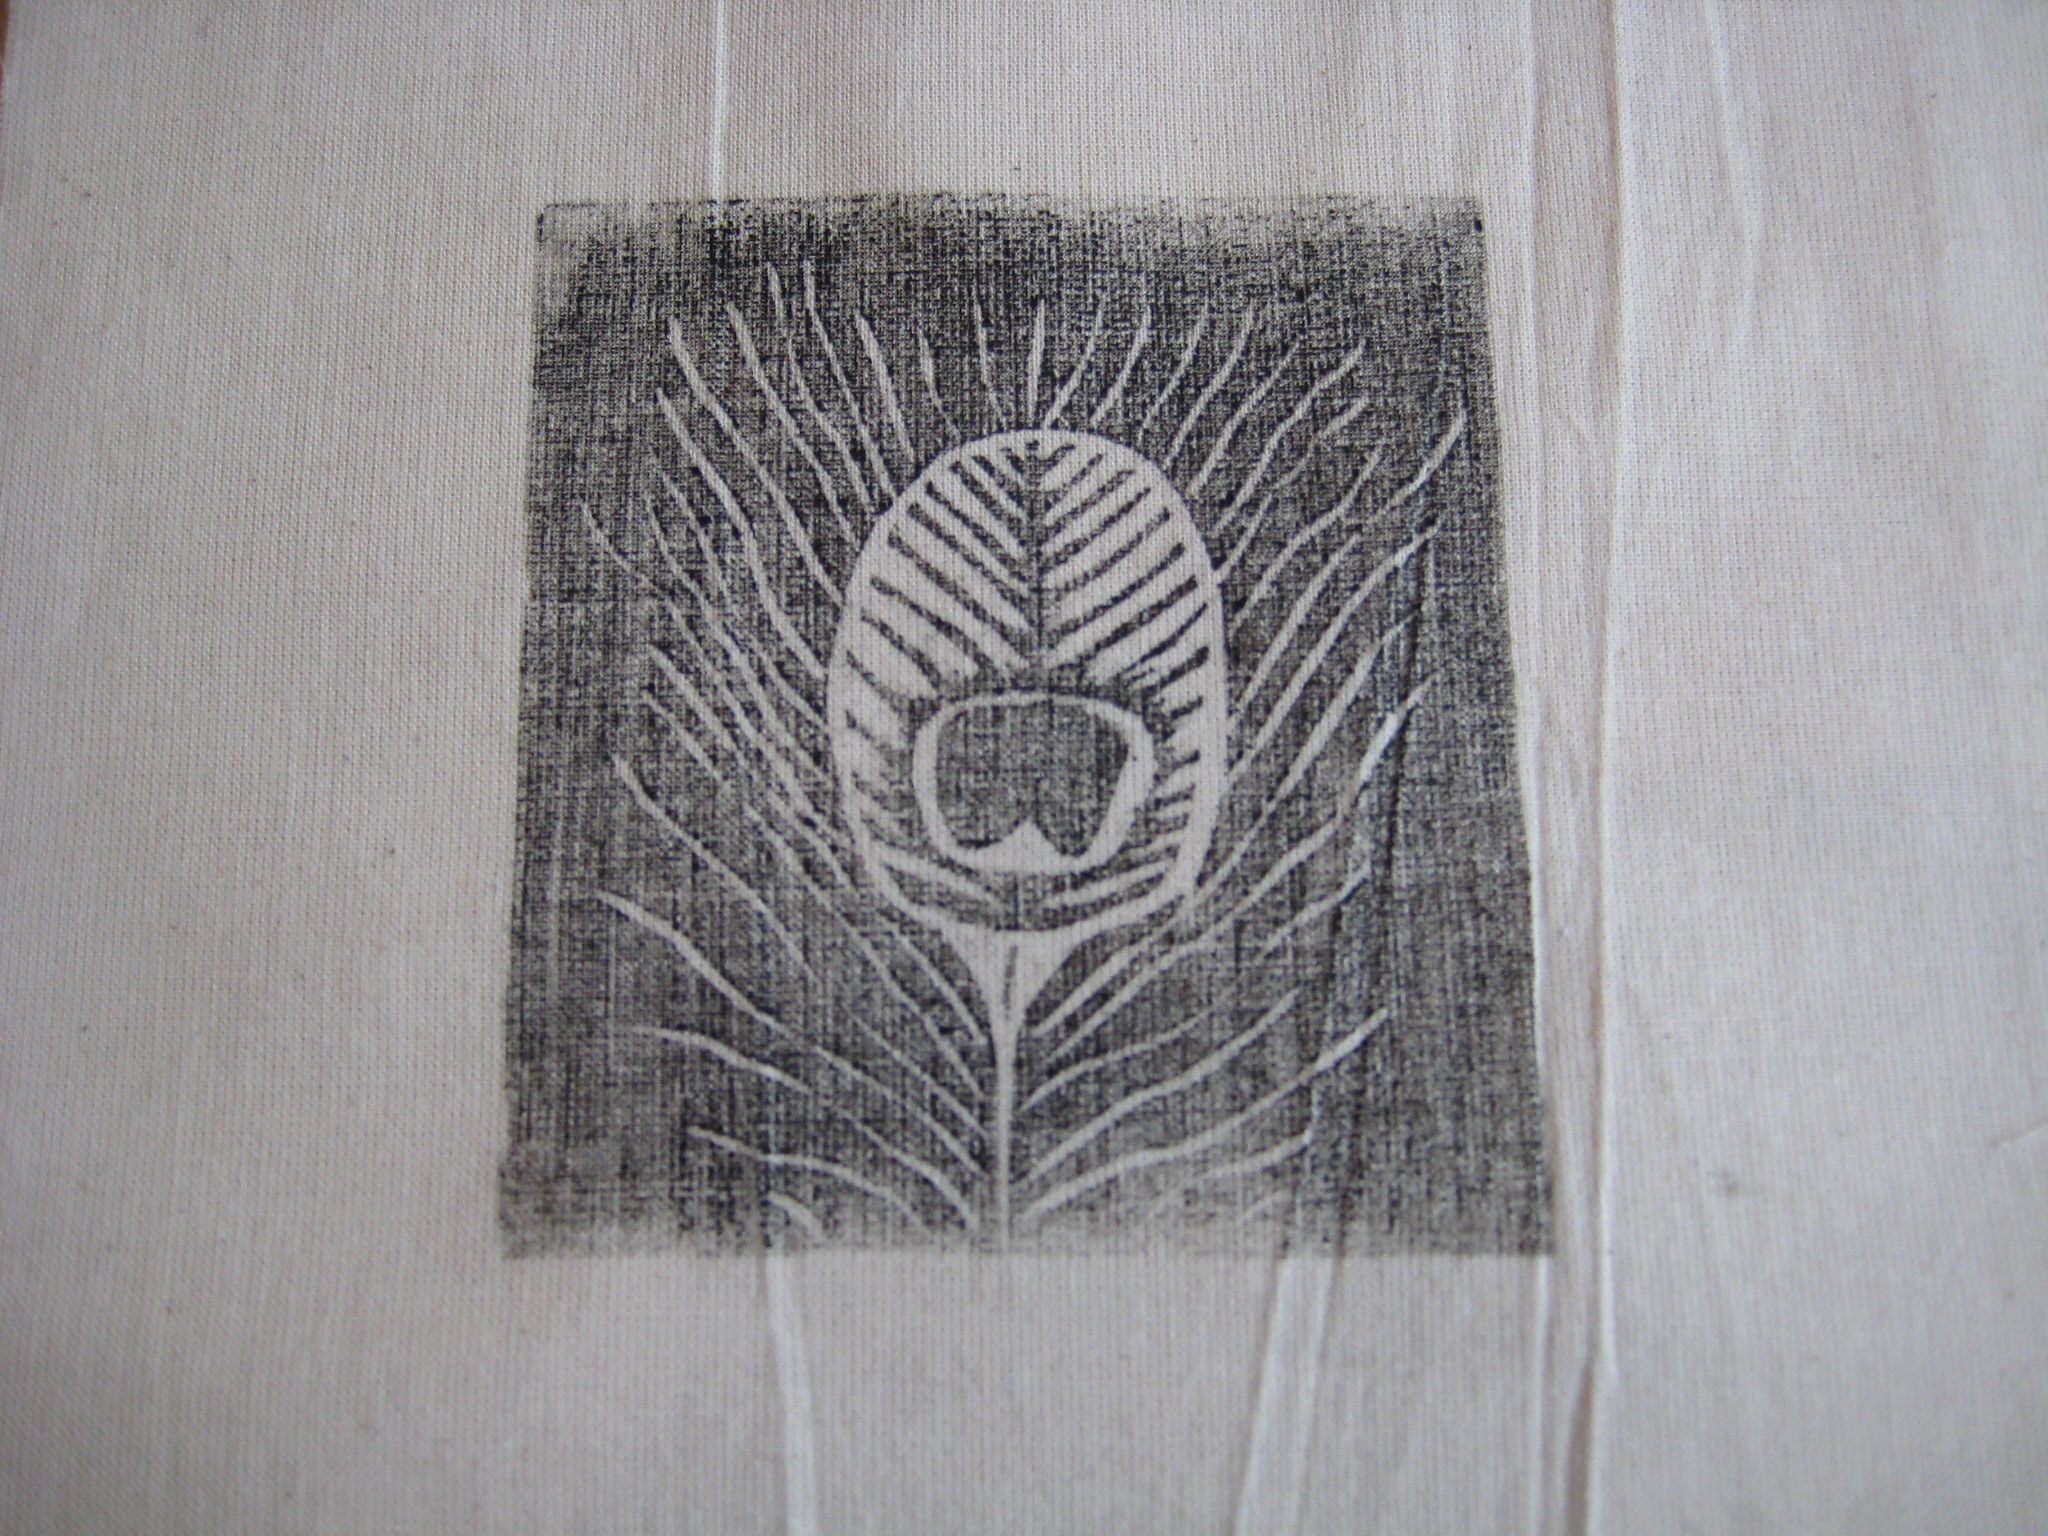
Printed fabric
What was interesting was that even though others in the class had different styles they all worked out well. I may ambitiously try a whole peacock for my next linocut!
Which brings me to equipment: because I loved it (who would have guessed), I bought myself a few bits and pieces so I can do some more at home. Here is what you need:
- Linoleum piece(s)
- Linocutters (I bought a set with various interchangeable blades)
- Ink tray
- Roller(s)
- Paint
- Tracing paper, if you want to trace your design rather than draw straight onto the lino piece.

Equipment
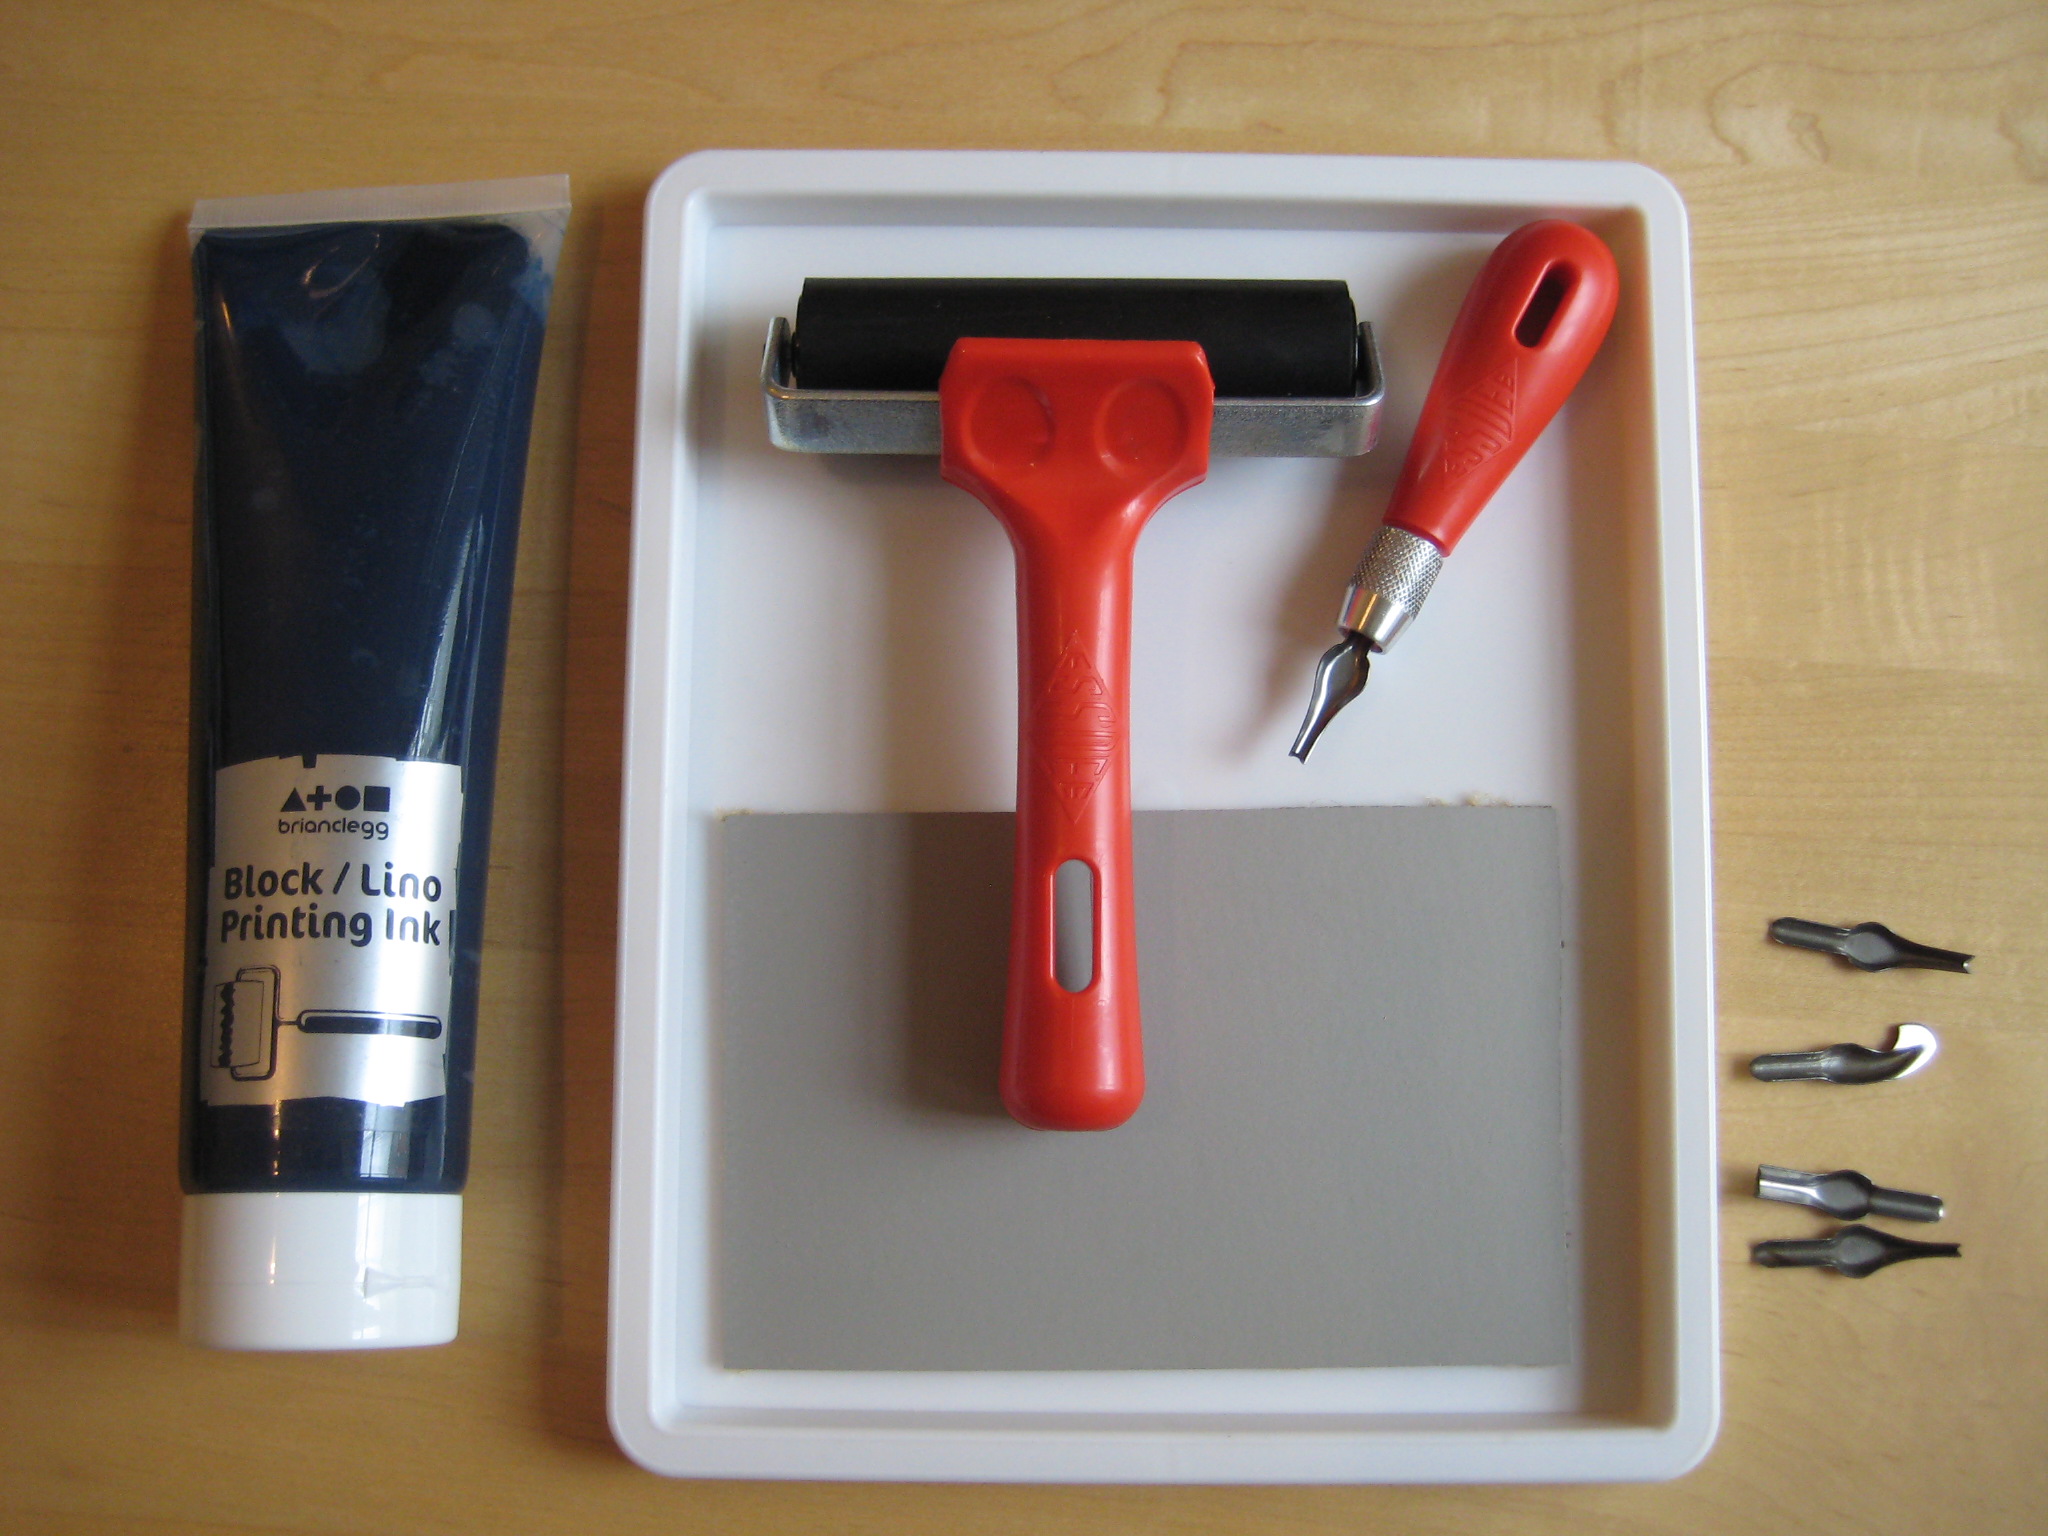
All this equipment was pretty cheap; the main cost will actually be in the paint. I want to get some fabric paint in the future so I can print my own fabric, but I’m going to practise on cards for now.


Pingback: Christmas Cards | Make My Day Creative
Pingback: Gifts for Grandparents | Make My Day Creative
Pingback: Making Cards | Make My Day Creative