
My new calf length skirt
Recently I have been lusting after calf length skirts a lot. The problem with just going out and buying one is firstly, we are meant to be saving up for our upcoming trip to North America (wahoo!) and secondly, since I’m a long legged creature, calf length skirts tend to hit me just on the knee.
Fortunately when I started cutting out this skirt a while ago (and by a while ago I mean this has been in my work in progress pile for over a year) I had left plenty of length to play with. Do you remember this pretty fabric?
It’s a very simply constructed skirt. The front is a giant gathered rectangle and the back is two gathered rectangles. This meant I could add pockets and then put a zip in the back.
I made a pattern for the waistband based on a skirt I already own but rarely wear. (It’s a funny shade of not quite grey-brown-black which means all colours somehow look not quite right with it. Maybe I will dye it.) I just drew around the shape onto some paper and cut it out, checking my existing waist measurement against it and adjusting. I added facing to the inside of the waistband stabilise it – it’s a curve so it kept the edges from stretching too. I love the deep waist band – I think it makes tummies look flatter!

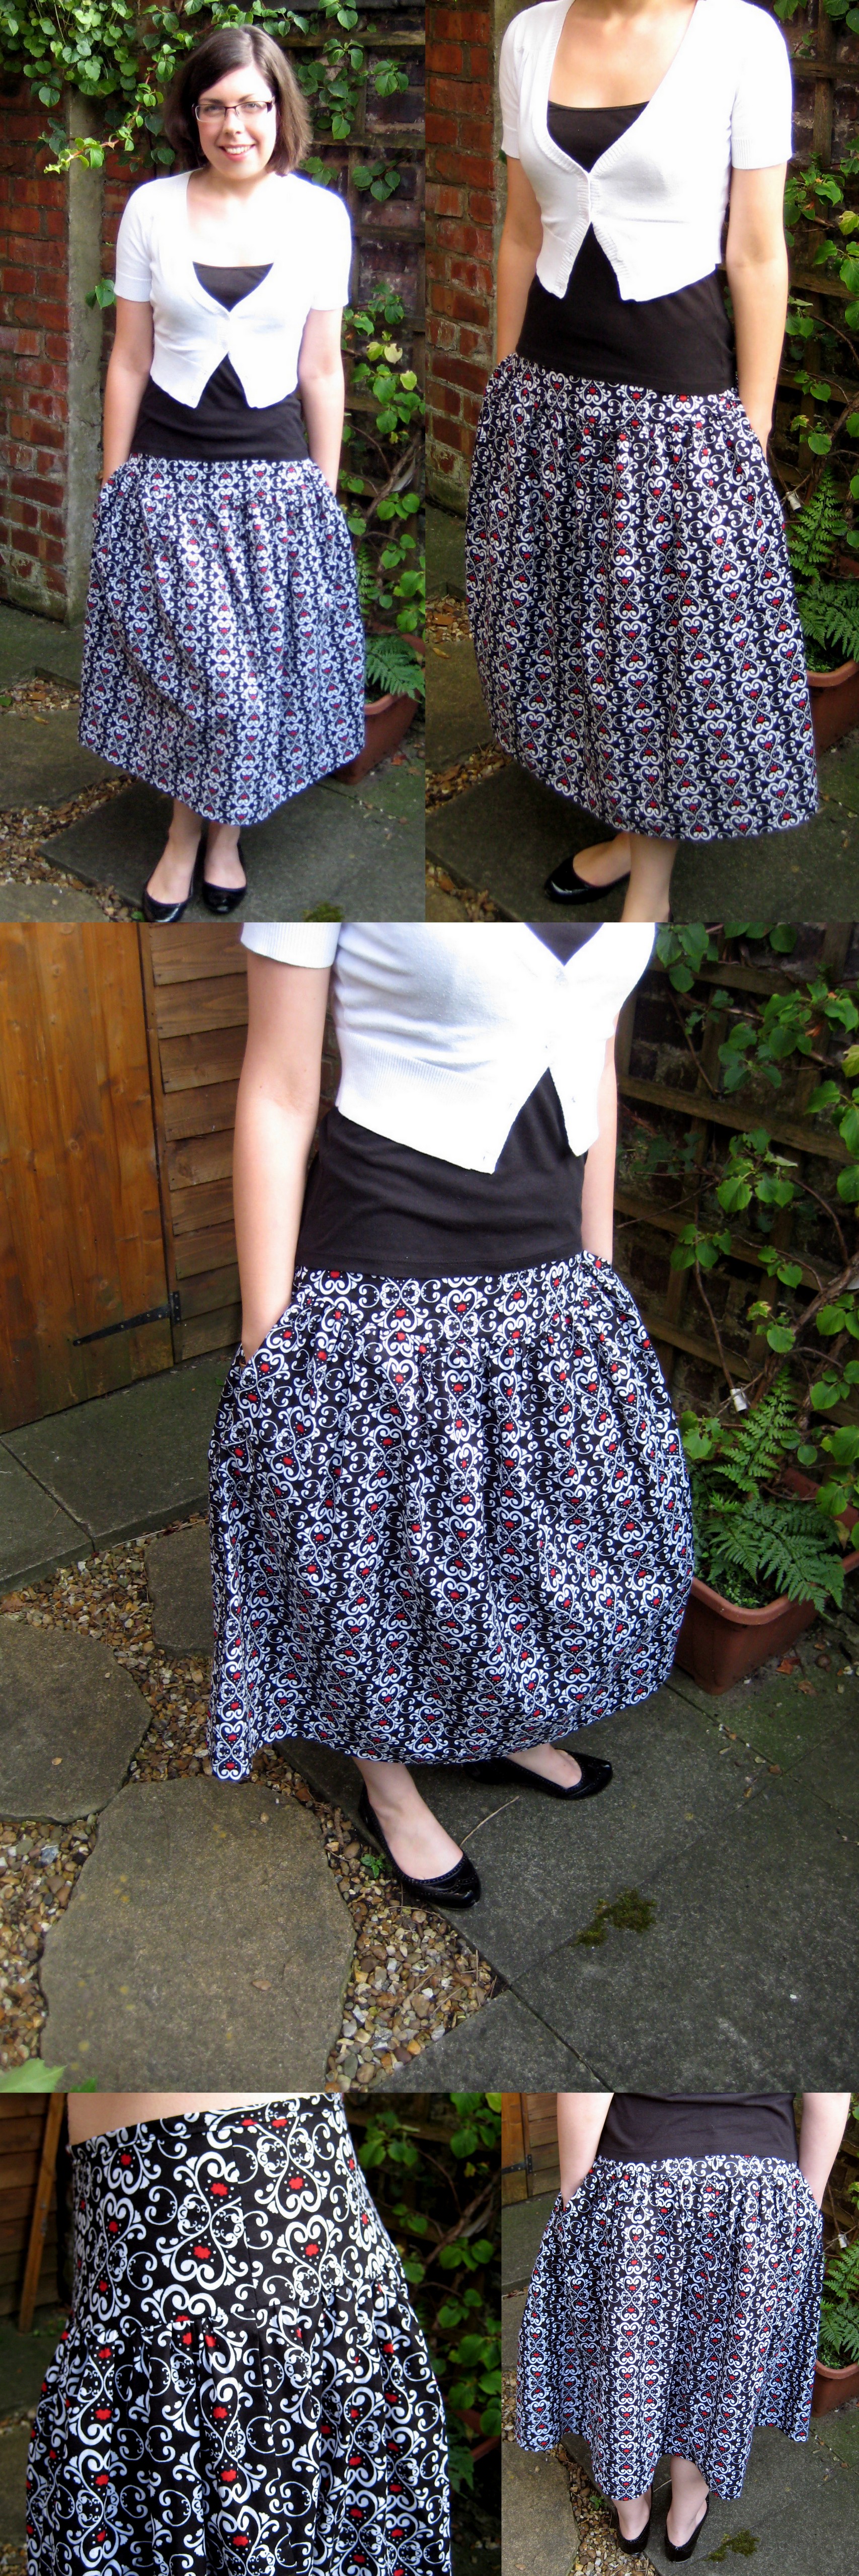
Enjoying the evening sunshine in my new pretty and comfy skirt :)
So, having sewn the pockets, side seams, back seam, gathered the top of the skirt and sewn in the waistband and zip, I suddenly realised that hemming the top was going to be a bit if an issue. I hadn’t thought about the fact that the waistband is tapered and therefore if I just folded it over it would be narrower on the inside than the outside. Whoops.
Fortunately, I remembered this great tutorial from Renegade Seamstress on how to cut bias binding and so I gave it a go. The cutting was surprisingly easy, the ironing was a little tricky due to the absence of a bias tape maker. I improvised by cutting a 2.5cm width of card and folded the edges over whilst ironing. It worked fine but I’ll be picking up a bias tape maker next time I’m in a craft store!
Bias tape made, I sewed this around the top edge and sewed on a hook and eye because of course, when I put the zip in I left room to hem the top. Thinking about it now I could have trimmed the waistband before adding the bias binding. Oh well. You live and learn!

Wide Waist Band Skirt – Front and back, pocket, back zip, bias tape top edge
So, there’s one less project in the work in progress pile. And I am learning about sewing. I think I may actually have to try a professional pattern at some point so see how things are meant to be done instead of just diving straight in!

Wide Waist Band Skirt – with pockets!
What projects do you have on the go? Have you had to improvise part way through a project?


very very nice I do wish the spirit hits me it will be a yr in dec that i purchased sewing machine and was going to make a line skirt. so far i remembered how to thread needle and bobbin its been sitting ever since maybe one day
I say go for it! :)
It looks great! Looks like we both did pretty much the same thing when making our first skirts! I didn’t use bias binding though. I did two waistband pieces (one for inside one for outside) and sewed them right sides together along the top edge before sewing the gathered skirt piece to the bottom edge of the (outside) waistband. I then pressed it with the raw lower edge of the inside waistband folded under, so the gathered edge was caught and sandwiched between the inside and outside waistband pieces.and carefully top stitched about 5mm away from the seam on the waistband. That’s a terrible explanation! Imagine the waistband itself as a giant piece of bias binding folded over that just happens to have a seam along the fold and you’re pretty much there! :D
Yes in retrospect that’s what I should have done! Lol. At least I will know for next time! And now I can make my own bias binding too. :)
Then you are waaaaay ahead of me! I had one half hearted attempt with a bias binding maker that didn’t go so well :( Should really give it another try.
Well the tutorial I followed really helped. Not sure I’d have managed it well without it!
Pingback: Padded Eye Masks | Make My Day Creative