My latest finished crochet project is a secret until the autumn so I can’t share it with you yet. If you’ve been following me on Instagram you’ll have noticed it go quiet for a while and that’s why!
I am not a great sew-er and I think one of the reasons is that generally the things I want to make are way too advanced for my skills – and also much more in the “passing trend” category which means I get distracted and I don’t develop my skills.
Recently I have been making an effort to try and sew some more basic patterns but with only one or two new skills each time. I often think of basics as boring and not worth the effort/expense, but then I struggle with having the right items to show off my favourite crochet shawls! Historically I have had a wardrobe made up of individual outfits which don’t mix with each other and it is frustrating when packing for holidays and when something wears out because I wind up with leftover items which don’t go with anything.
So here are two things I’ve made recently bearing that all in mind. Firstly, this black jersey skirt (worn with my Indian Summer Lace top – free crochet pattern here)

Sewing the Basics: Black maxi skirt worn with Indian Summer lace top – free crochet pattern
The new skills here were handling the jersey fabric (and using a stretch needle!) and also using a double pointed needle (for the hem).
I made my own pattern by drawing around a jersey skirt I already had which I love wearing. It’s just two pieces – a front and back, which are both the same (yay for forgiving stretch fabric). I did think about adding side pockets but was worried they would make bulges which would show so I didn’t bother in the end. The waistband is just folded over with elastic encased. I probably should have made a separate waistband but this seems to be working just fine!
The double pointed needle was actually very easy but I did have to wind thread onto a spare bobbin as I didn’t have two spools of black thread for the top. (Sorry for the crazy contrast photo here… photographing black on a sunny day is hard!)

Sewing the Basics: Black Maxi Skirt
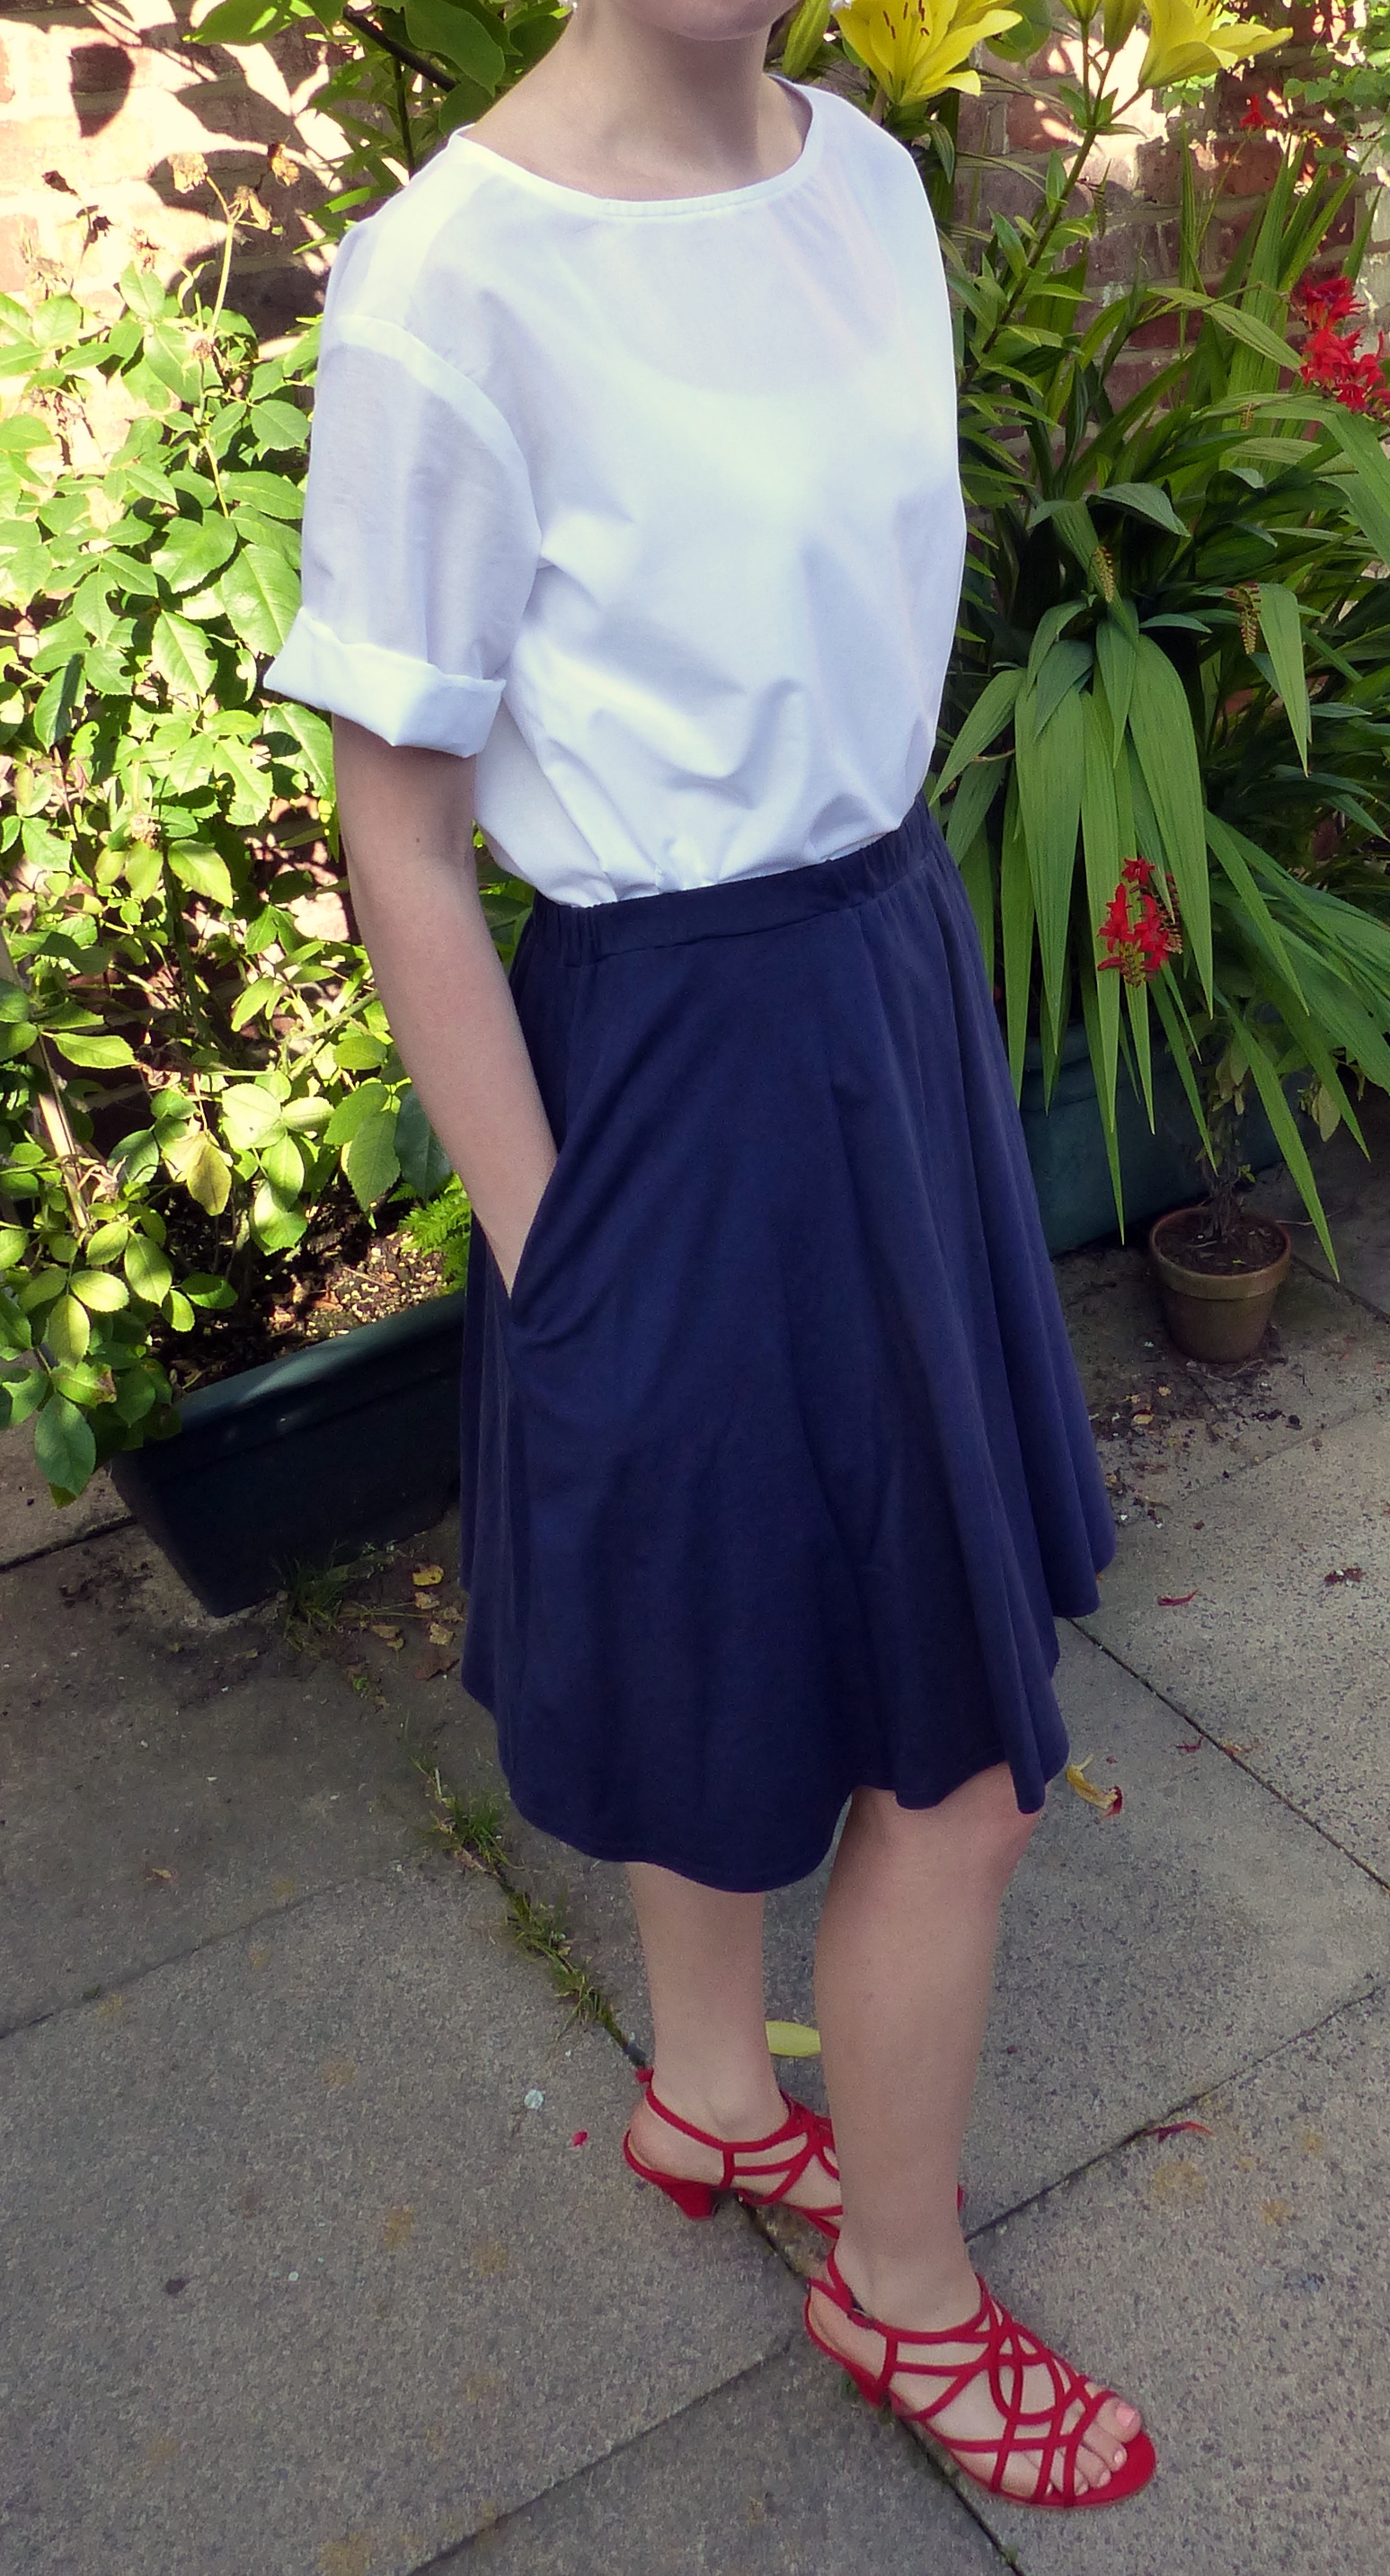
Next up is this woven fabric top from pattern 1366 Simplicity. I have seen lots of sewing bloggers make this and variations of it and it just looked like a great basic. The new skills are inserting an internal bias binding neckline (facing) and setting in sleeves.

Sewing the Basics: Shell top (Simplicity 1366)
As I think I’ll be making it (and hopefully variations of it) more than once I traced off the pattern onto sewable tracing paper and made it up to check the fit. Another stage in the process that I’d normally skip but I’m forcing myself to do things properly! Glad I did because the fit was fine but the length was not – it is meant to be cropped but as I am tall I found I needed about 4 inches extra in order for it to not look like I’d just grown out of it.
After a bit of head scratching I followed the pattern just fine. I did zig-zag the seams to finish then as I went along, because my choice of fabric frayed like crazy and also it is so fine you can see the seams when it’s worn. Ideally I would have French seamed it – but that was a skill too many for this time around (and I’m not sure if that works well on set in seams? Advice anyone?).
The setting in of the seams was actually easier than I anticipated although I did sew one on inside out before fixing it!
Sewing the Basics: Shell top (Simplicity 1366)
I left the sleeves unhemmed (just zig-zagged the edges) because I like the folded up look without having to iron the creases in. I can go back and hem the sleeves later if I change my mind!
Overall I was pretty pleased with this and I’m looking forward to trying a more interesting fabric next time – and probably fiddling with the sleeve length and bottom hemline too. I feel it wants side splits, and/or curves, which could be more challenging…


Sorry to say this, but the short skirt does not seem to “hang” right, and the white blouse is too big for the model. That’s the trouble with sewing from a pattern. We all have to learn to sew from a person’s body. My sister-in-law’s mother could do this, and her sewn clothes for her grown daughter were absolutely beautiful.
One of the great things about sewing your own is that you can achieve the look and fit that you prefer. Simplicity 1366 is a relaxed style with drop shoulders, which I chose specifically for those reasons (please google it if you want to see what the style is). I like drop shoulders because I feel they suit my wide shoulders (off the rack tops which fit my shoulders usually have far to much space for a bust I don’t have!). The short skirt is actually off the rack, it is just a simple flippy-jersey skirt with pockets and elasticated waist, very comfy for this hot weather we are having! I selected it for the photos because I felt the fullness balanced the loose fitting top (and it’s fun to spin around in). Your sister-in-law’s mother sounds like quite a tailor!
Thanks for sending your strategy. I have to have one, too, being a size 10 in shoulders, C cup in bust, waist and hips 18. I’m a geometry problem!
I have successfully used French seams for set-in sleeves. I would think it would work very well with the type of fabric you used for this top. Try it next time. It is a bit time consuming, but I believe well worth the effort! I also am not a great seamstress; I prefer making quilts! But I totally agree it is good to have basic skills and to use them from time to time. I should try your approach to take a pattern that is a bit more difficult and try new things!
Thanks Pam, I think I will try it next time then! It is good to learn new things and so far not overwhelming myself with too much is working. I have a lot to learn!
Pingback: Sew Your Own Basics 2 | Make My Day Creative