Before and After
I’m not sure whether redecorating counts as “crafting” but since this project was a lot of work and since most of us like to have a nosy around each other’s homes I didn’t think anyone would object too much to this post!

All the details :)
We moved into our 3-bed 1910 terraced home over 5 years ago. For some reason we thought we’d get round to redecorating the living room within the first year, but after spending all our money and a considerable amount of time on the kitchen we realised this wasn’t going to happen very quickly!
Having tackled the dining room, hallway (with help from my handy brother), and master bedroom (which involved the discovery of original horsehair plaster!) we were finally ready to banish the textured pink wallpaper of the living room. Proceedings were spurred on by the discovery of an electrical fault which left us with a few holes in the walls!
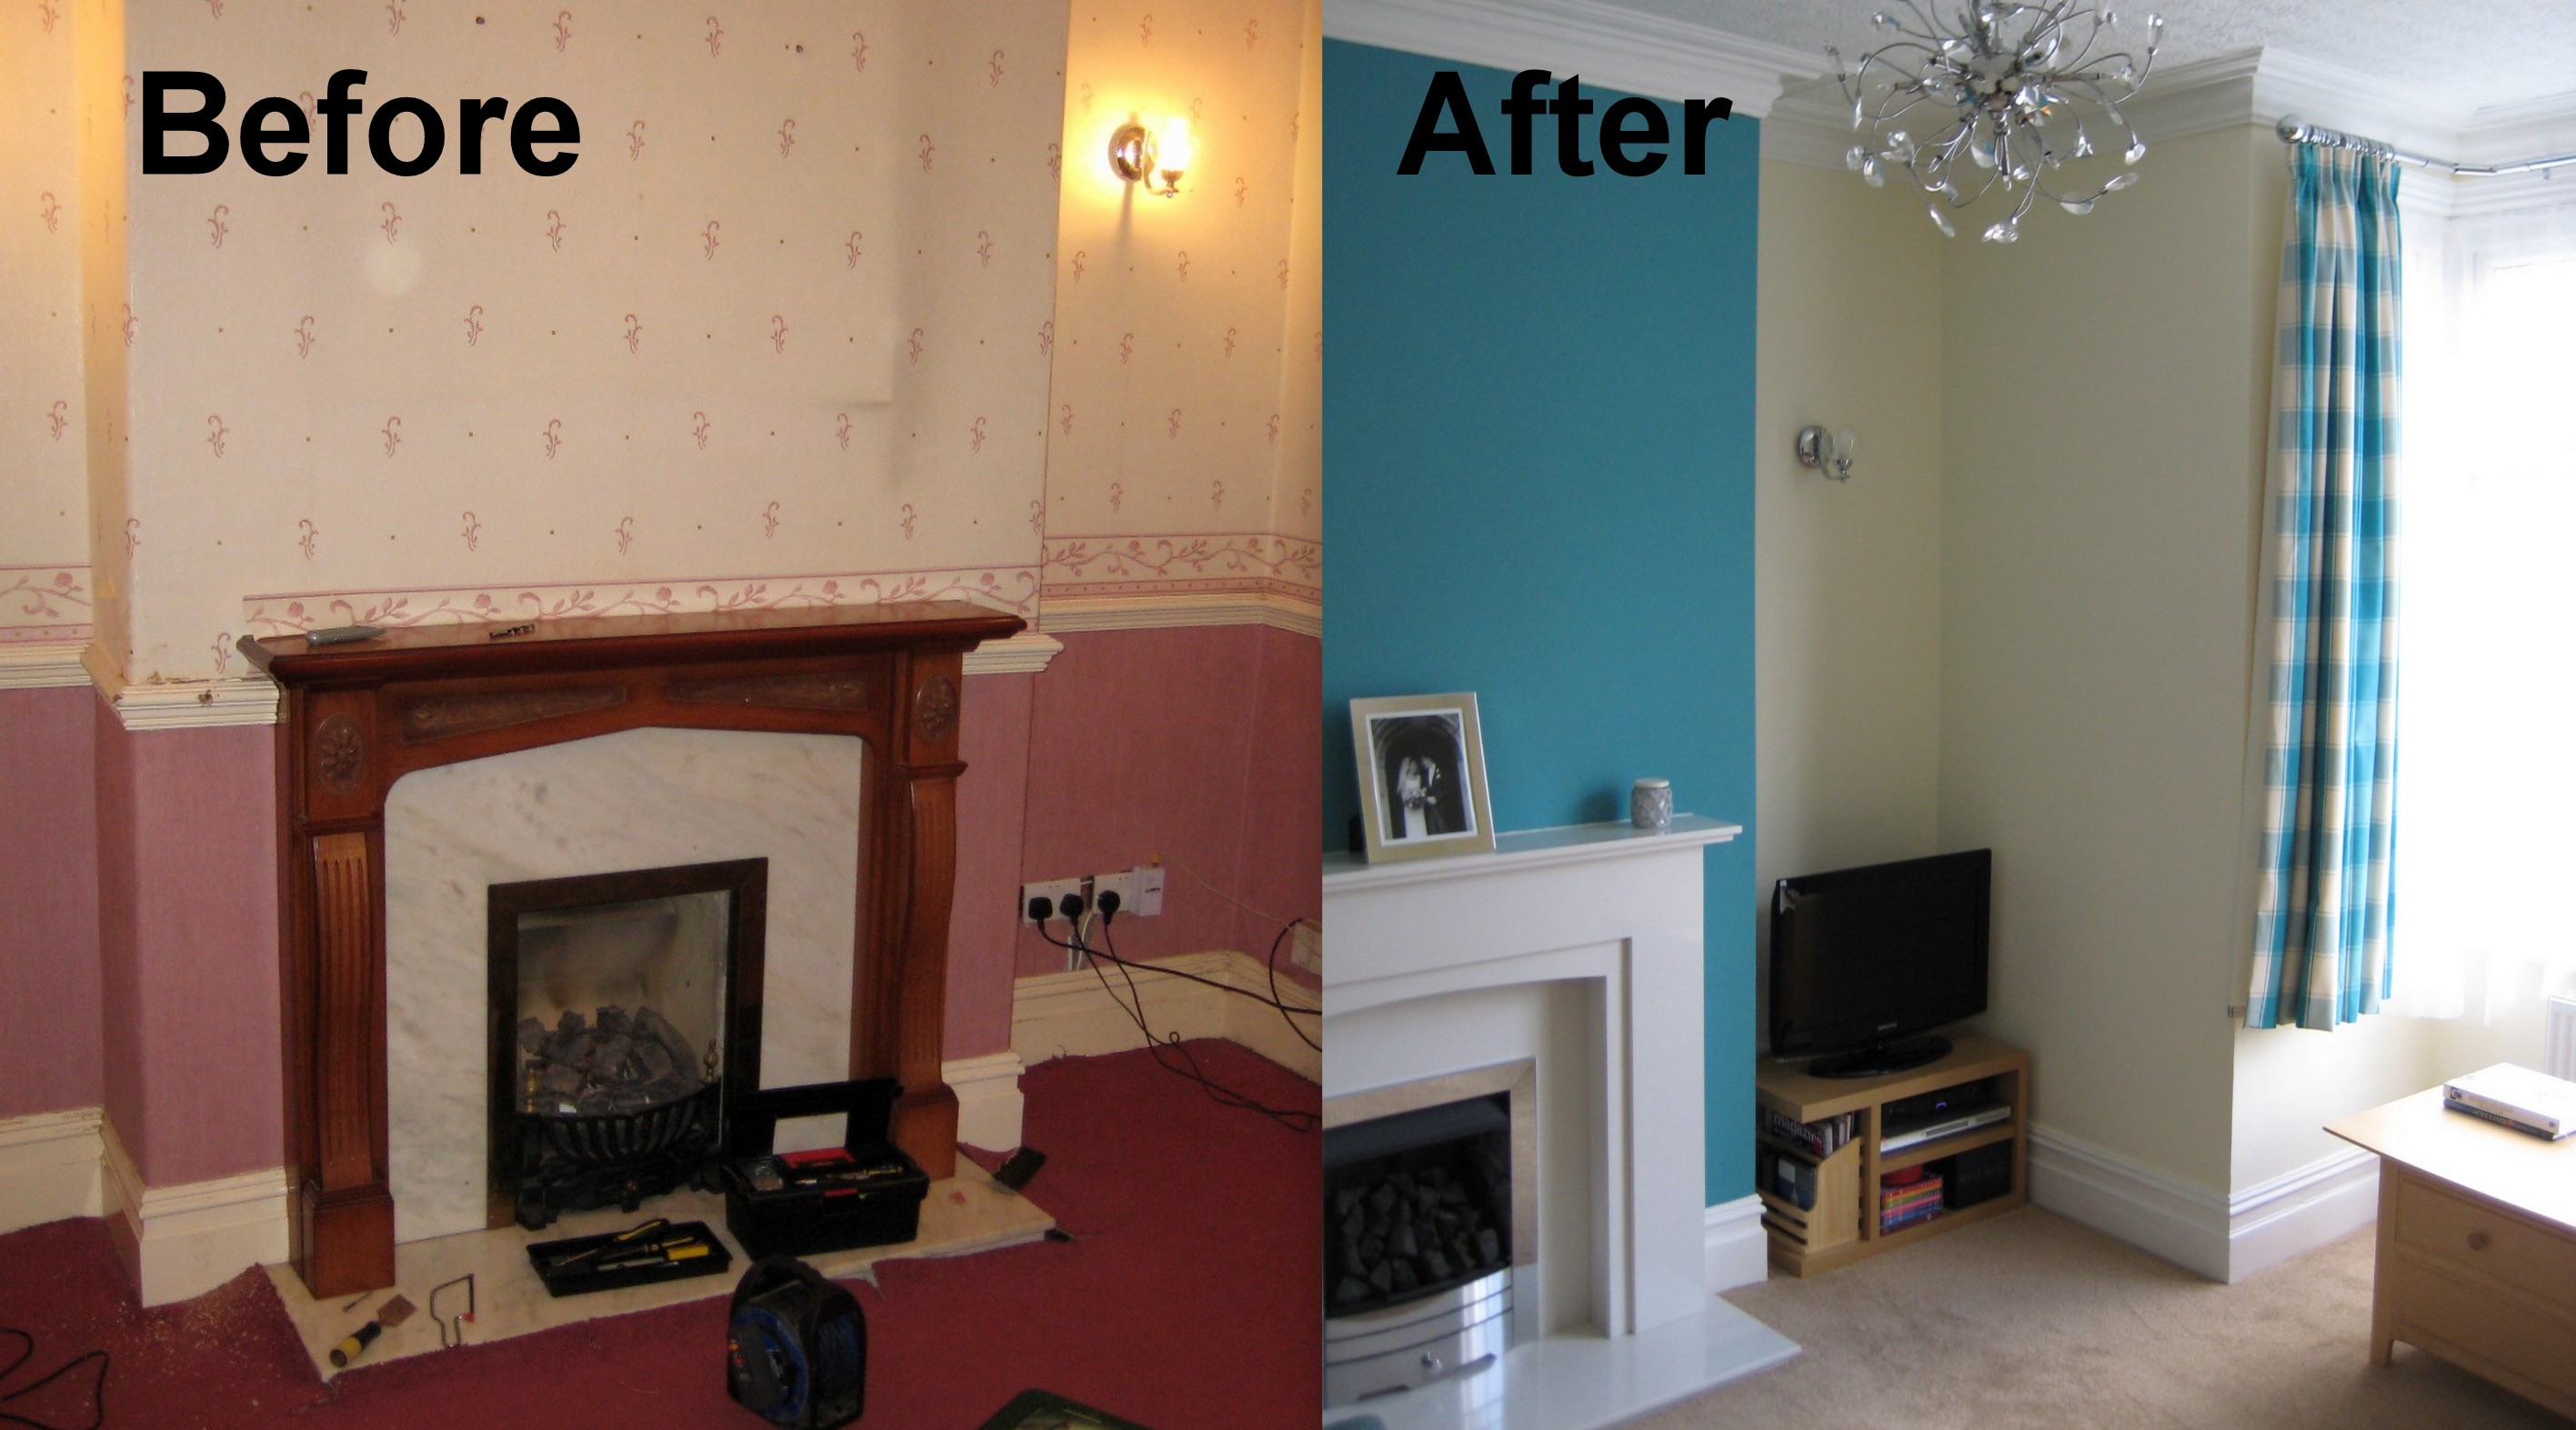
As you can see there was rather a lot of peeling wallpaper, dated décor, and a plastic wood effect mantelpiece. In addition the curtains in the bay window opened in to the corners – which left the curtains blocking some of the light.

Almost before we began!
Luckily for us the room also has some great features – original skirting boards and coving, high ceilings, and a lovely bay window.
So, after removing 4 layers of wallpaper we were left with a room looking like this:
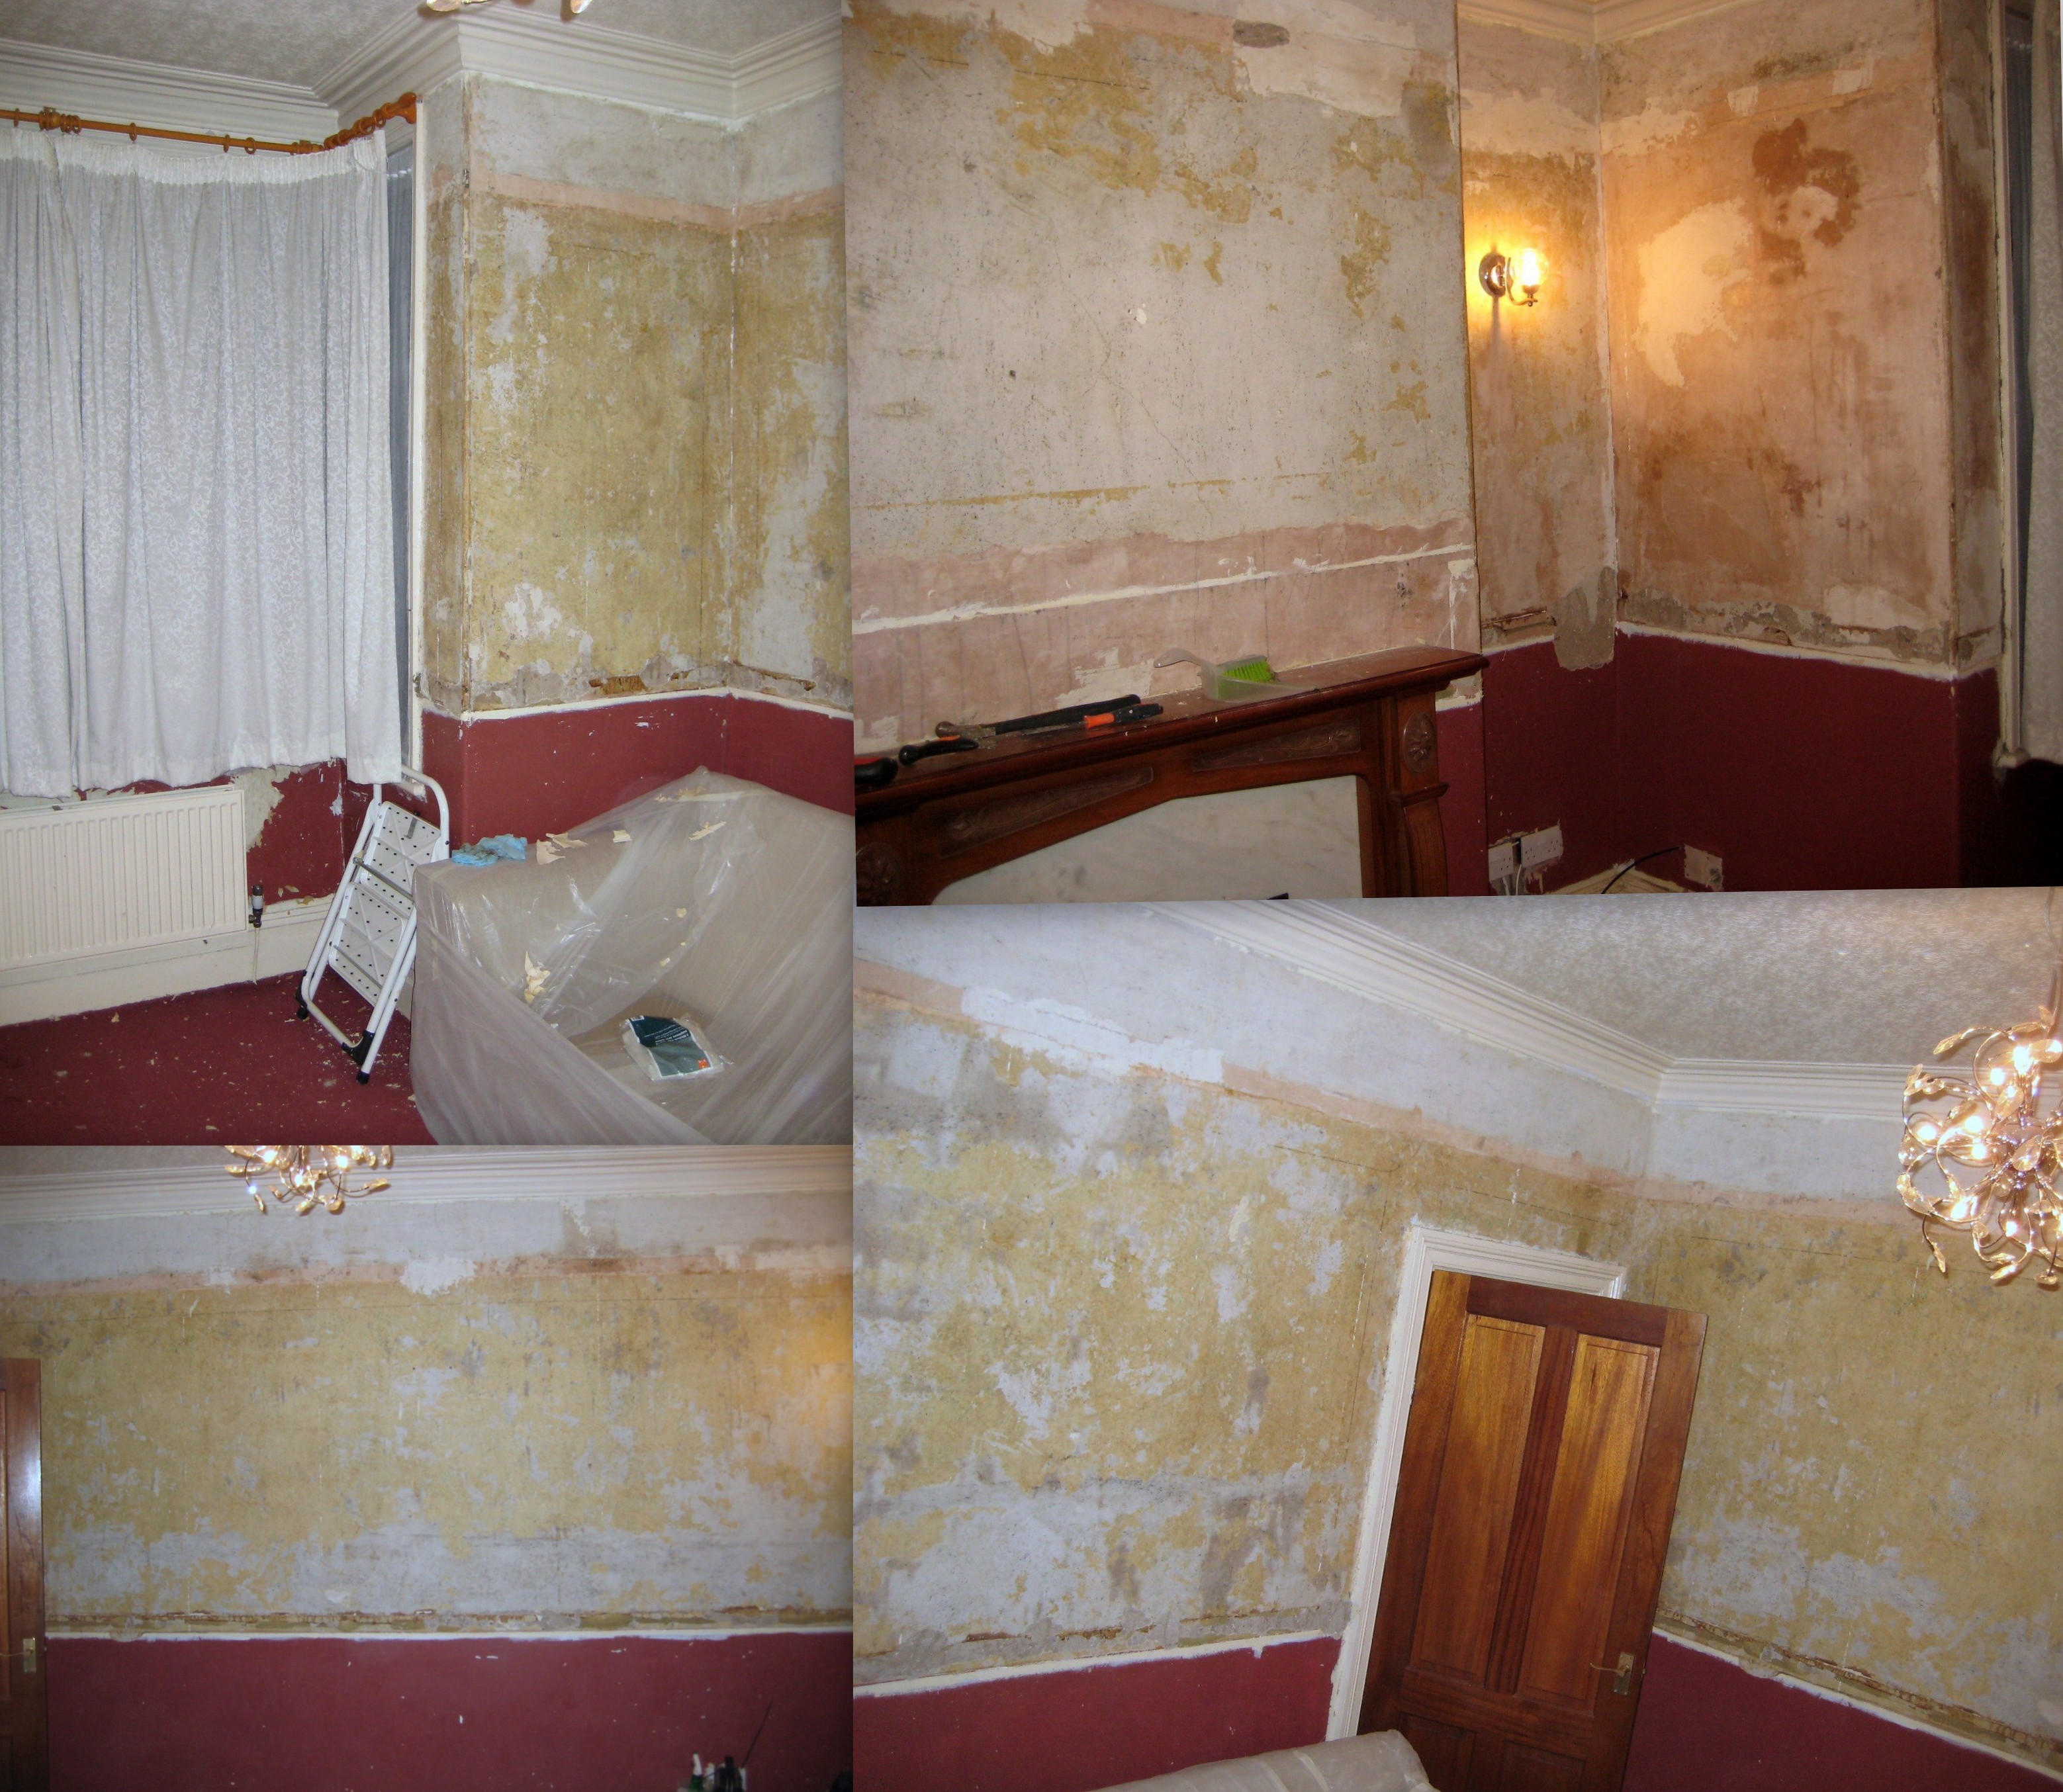
What lies beneath 4 layers of wallpaper
Eek! Discoveries at this stage included a hole by the window large enough to lose a screwdriver in, and a 1963 newspaper in one of the walls…
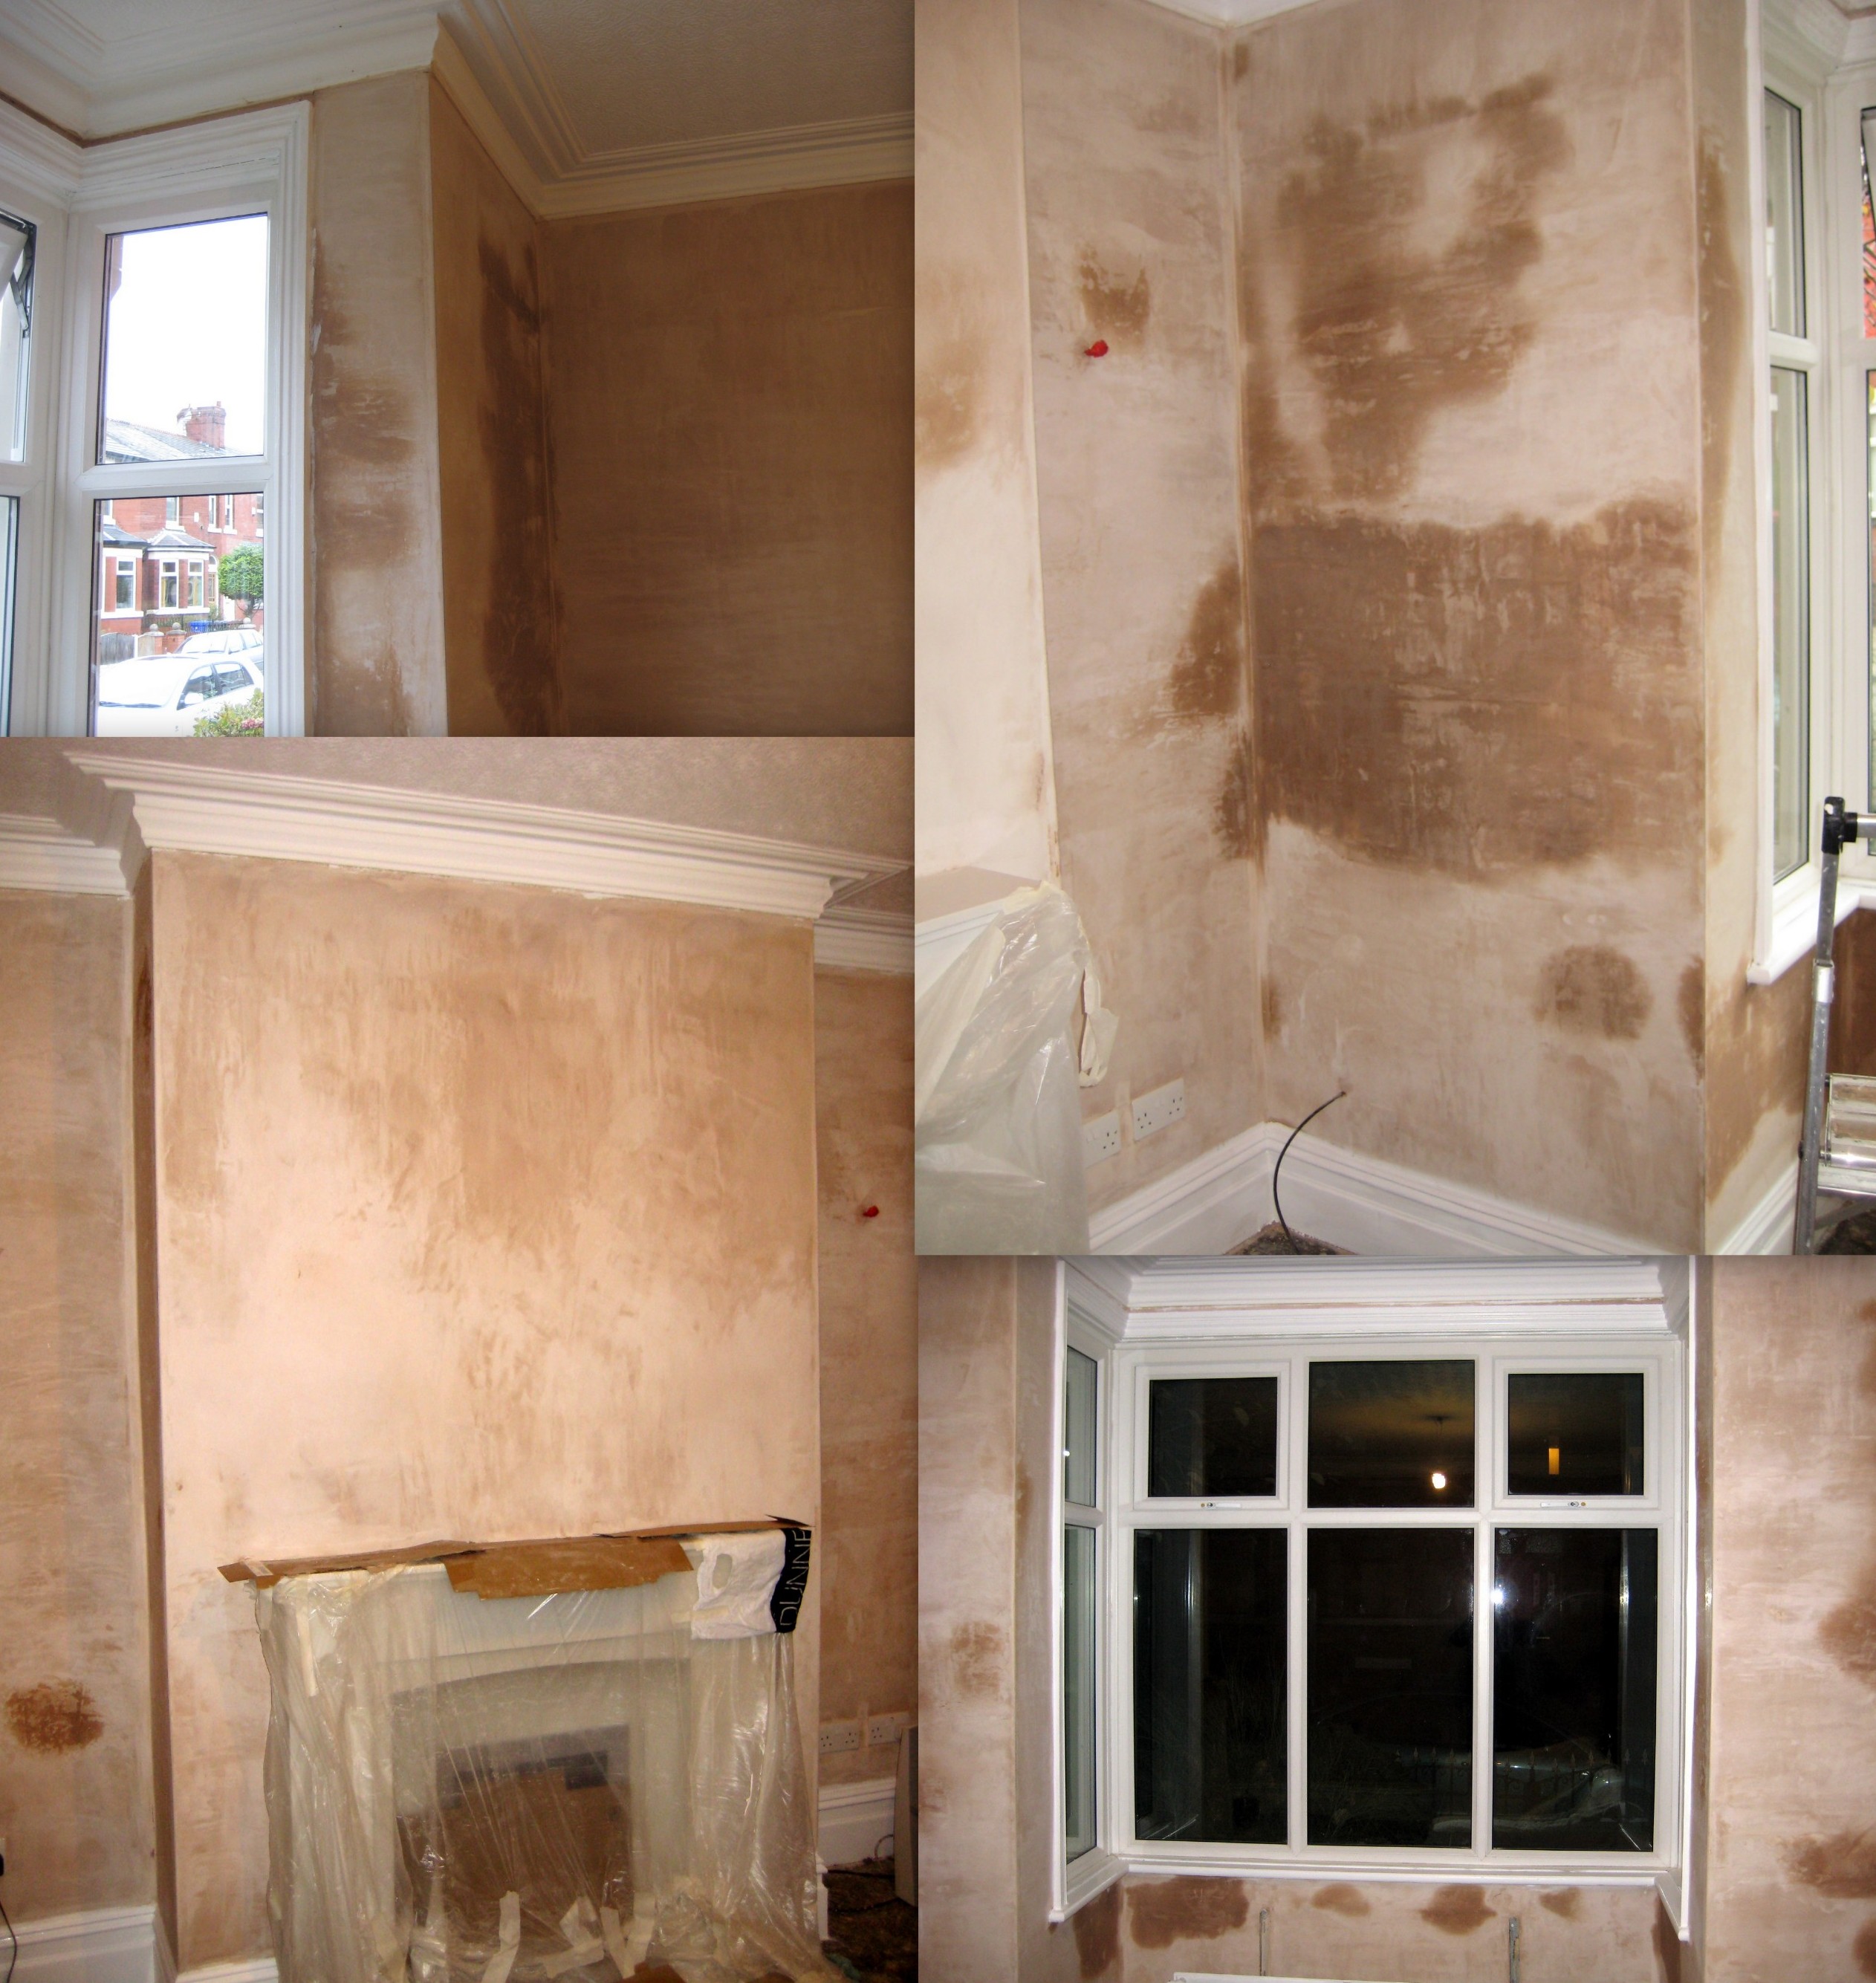
After plastering – it took a while to dry!
Fortunately a local plasterer came and sorted out the state of the walls for us. We also had a lovely new fireplace installed. It is a gorgeous white marble with a little sparkle in it, to which these photos do not do justice.
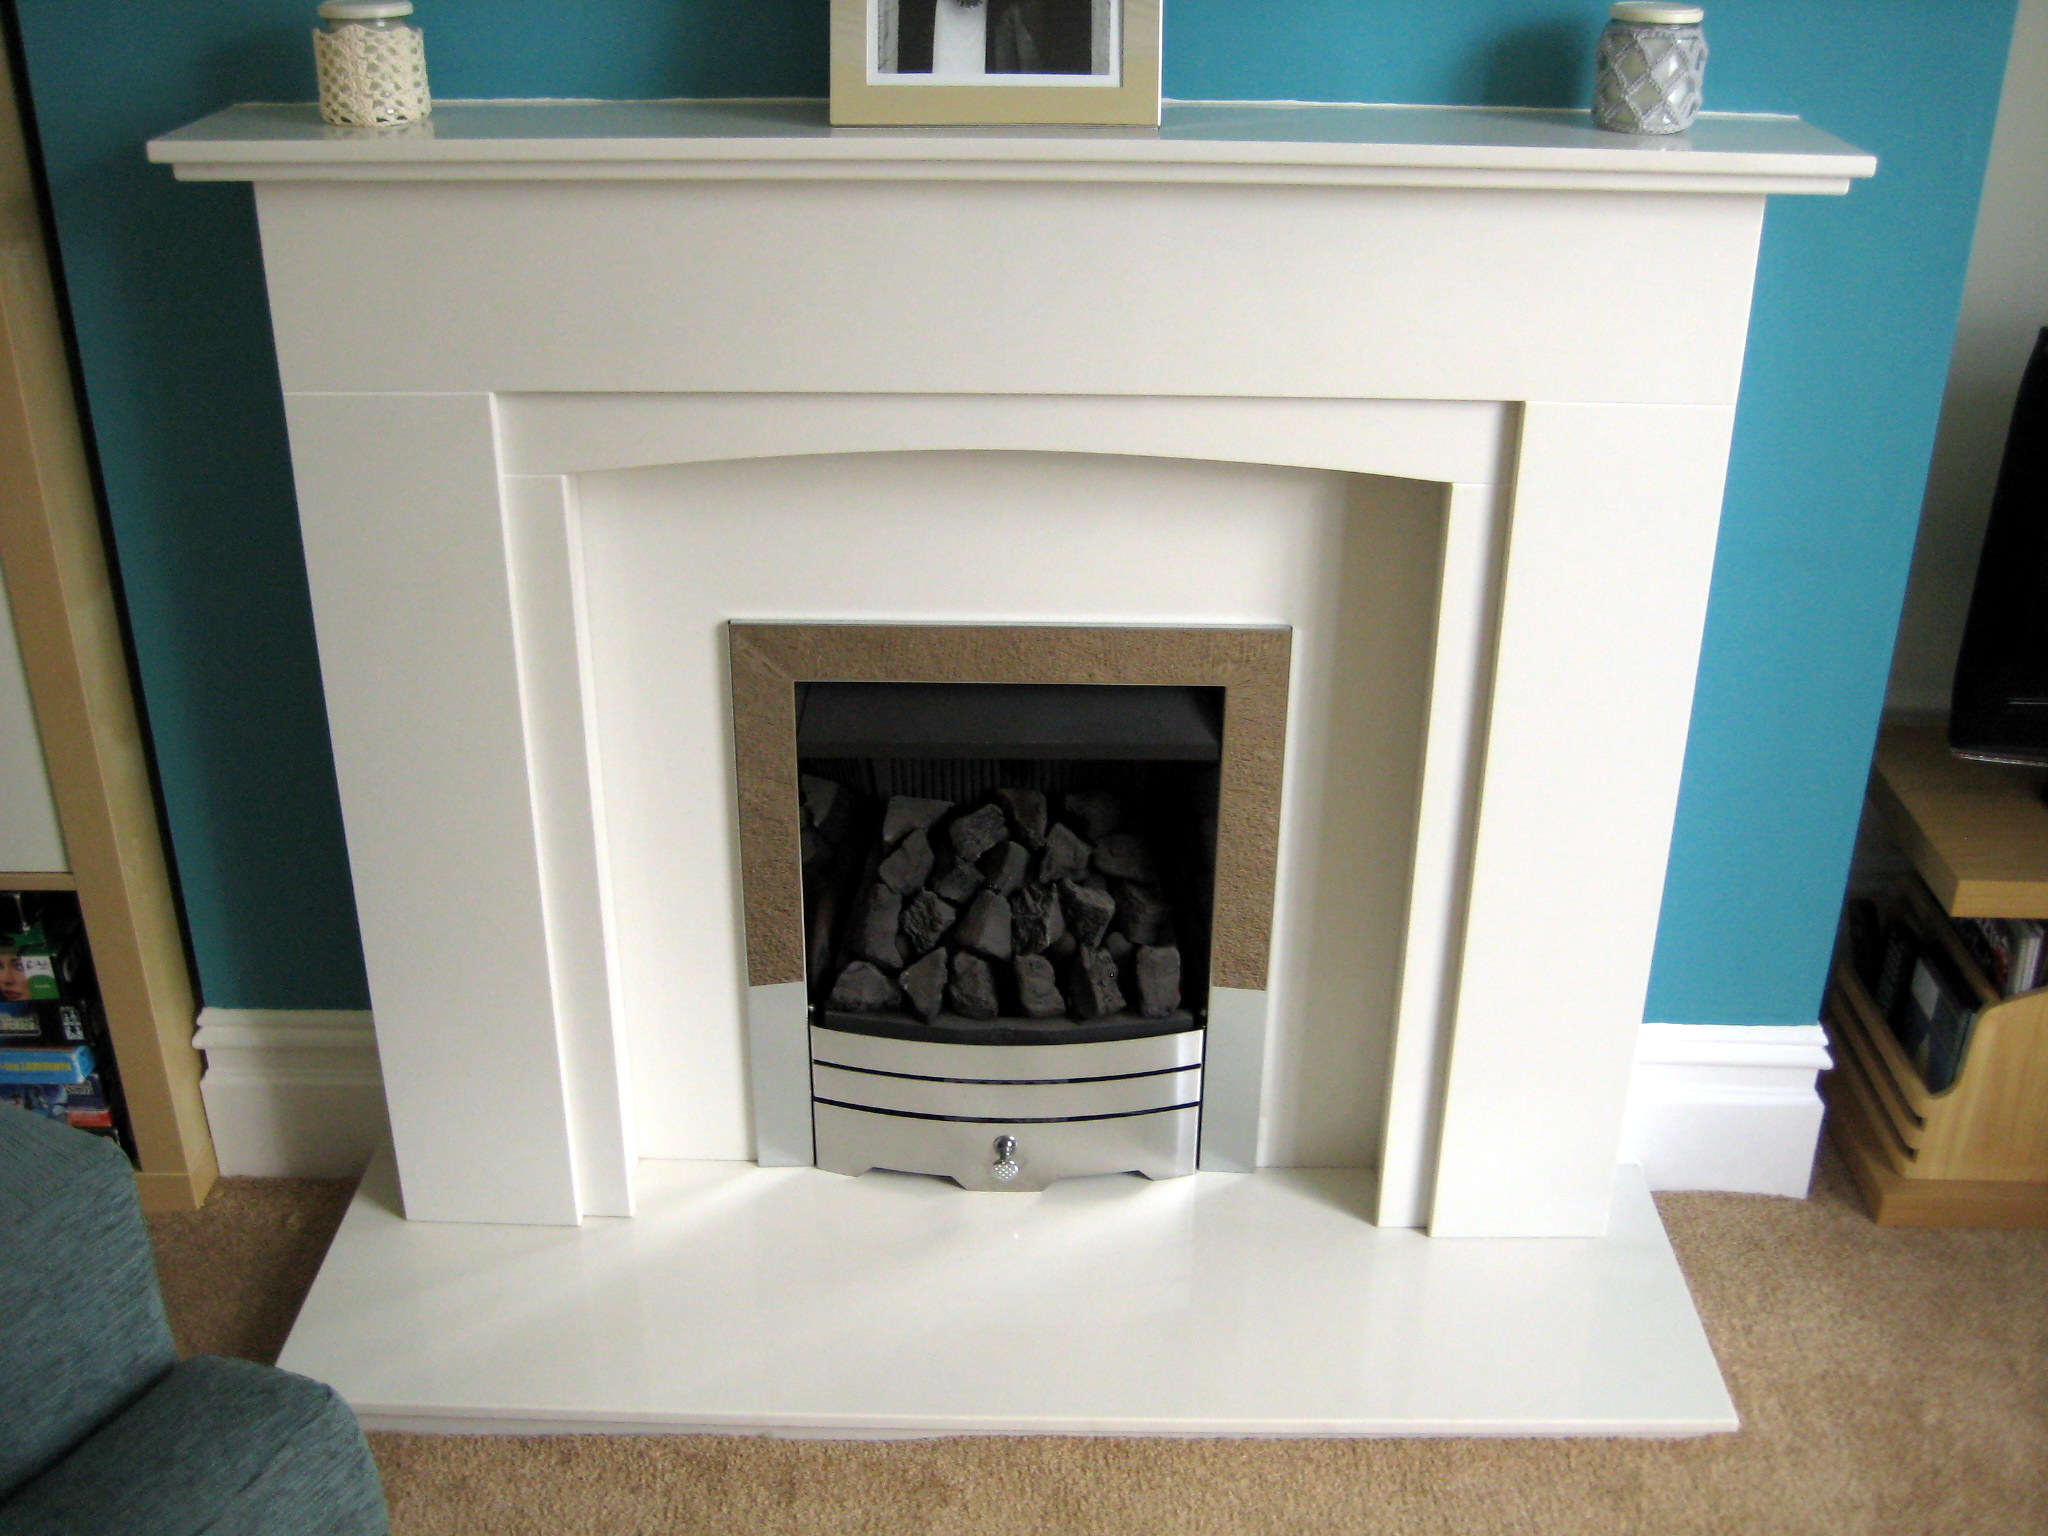
Lovely new fireplace
Having finally allowed the plaster to dry (this can take a while in rainy Salford in November) we tackled the paintwork. Having repainted the ceiling (white is unbelievably brighter than the cream which was up there before) and woodwork, proceedings were somewhat held up by my fracturing my elbow. This left my husband to tackle most of the painting by himself – although I could paint with one arm it was making me very tired. Fortunately for us my father-in-law loves to help out so he popped over from Liverpool and got us back on track.

Hinged curtain pole cut to size
One of the tricky jobs about the room was the bay window/curtain solution. As you can see we have a square bay, and finding a curtain pole to go around the corners took a lot of research. Eventually I found this one which you can cut to size. You may also be able to see that we have lovely window frames – the problem with these, however, is that they only leave us about an inch gap between the frame and the aforementioned original coving. In the end we had to fix blocks for the brackets in between the frame and coving so that there was something to fix to. Cutting the pole, brackets, blocks and then putting up this curtain pole took my husband all day, but I think he made a good job of it in the end!

Bay window curtains
And finally we could measure the drop for the curtains. In the end we went for made to measure – yes, I have a sewing machine, and can sew (mostly) straight lines, which is all that is needed for curtains, but this is a large bay and handling that amount of (expensive) fabric was a daunting prospect. It also would have taken me ages, and when you have no curtains in the middle of December you are looking for a fast solution! So we ordered these wide checked ones from Next – the colour teal matches the chimney breast perfectly and I’m really pleased with the quality. Plus we were able to get thermal linings for them – every little helps in an old house!

Acrylic Ink painting by Tas Severis
It took us a long time to choose the colours. In the end we based the palette on this acrylic ink painting which I love. It is an original by an artist friend of ours, Tas Severis. I love the bright colours and how it looks abstract until you look at it properly and you see the house and landscape beneath the dramatic sky.

New armchair
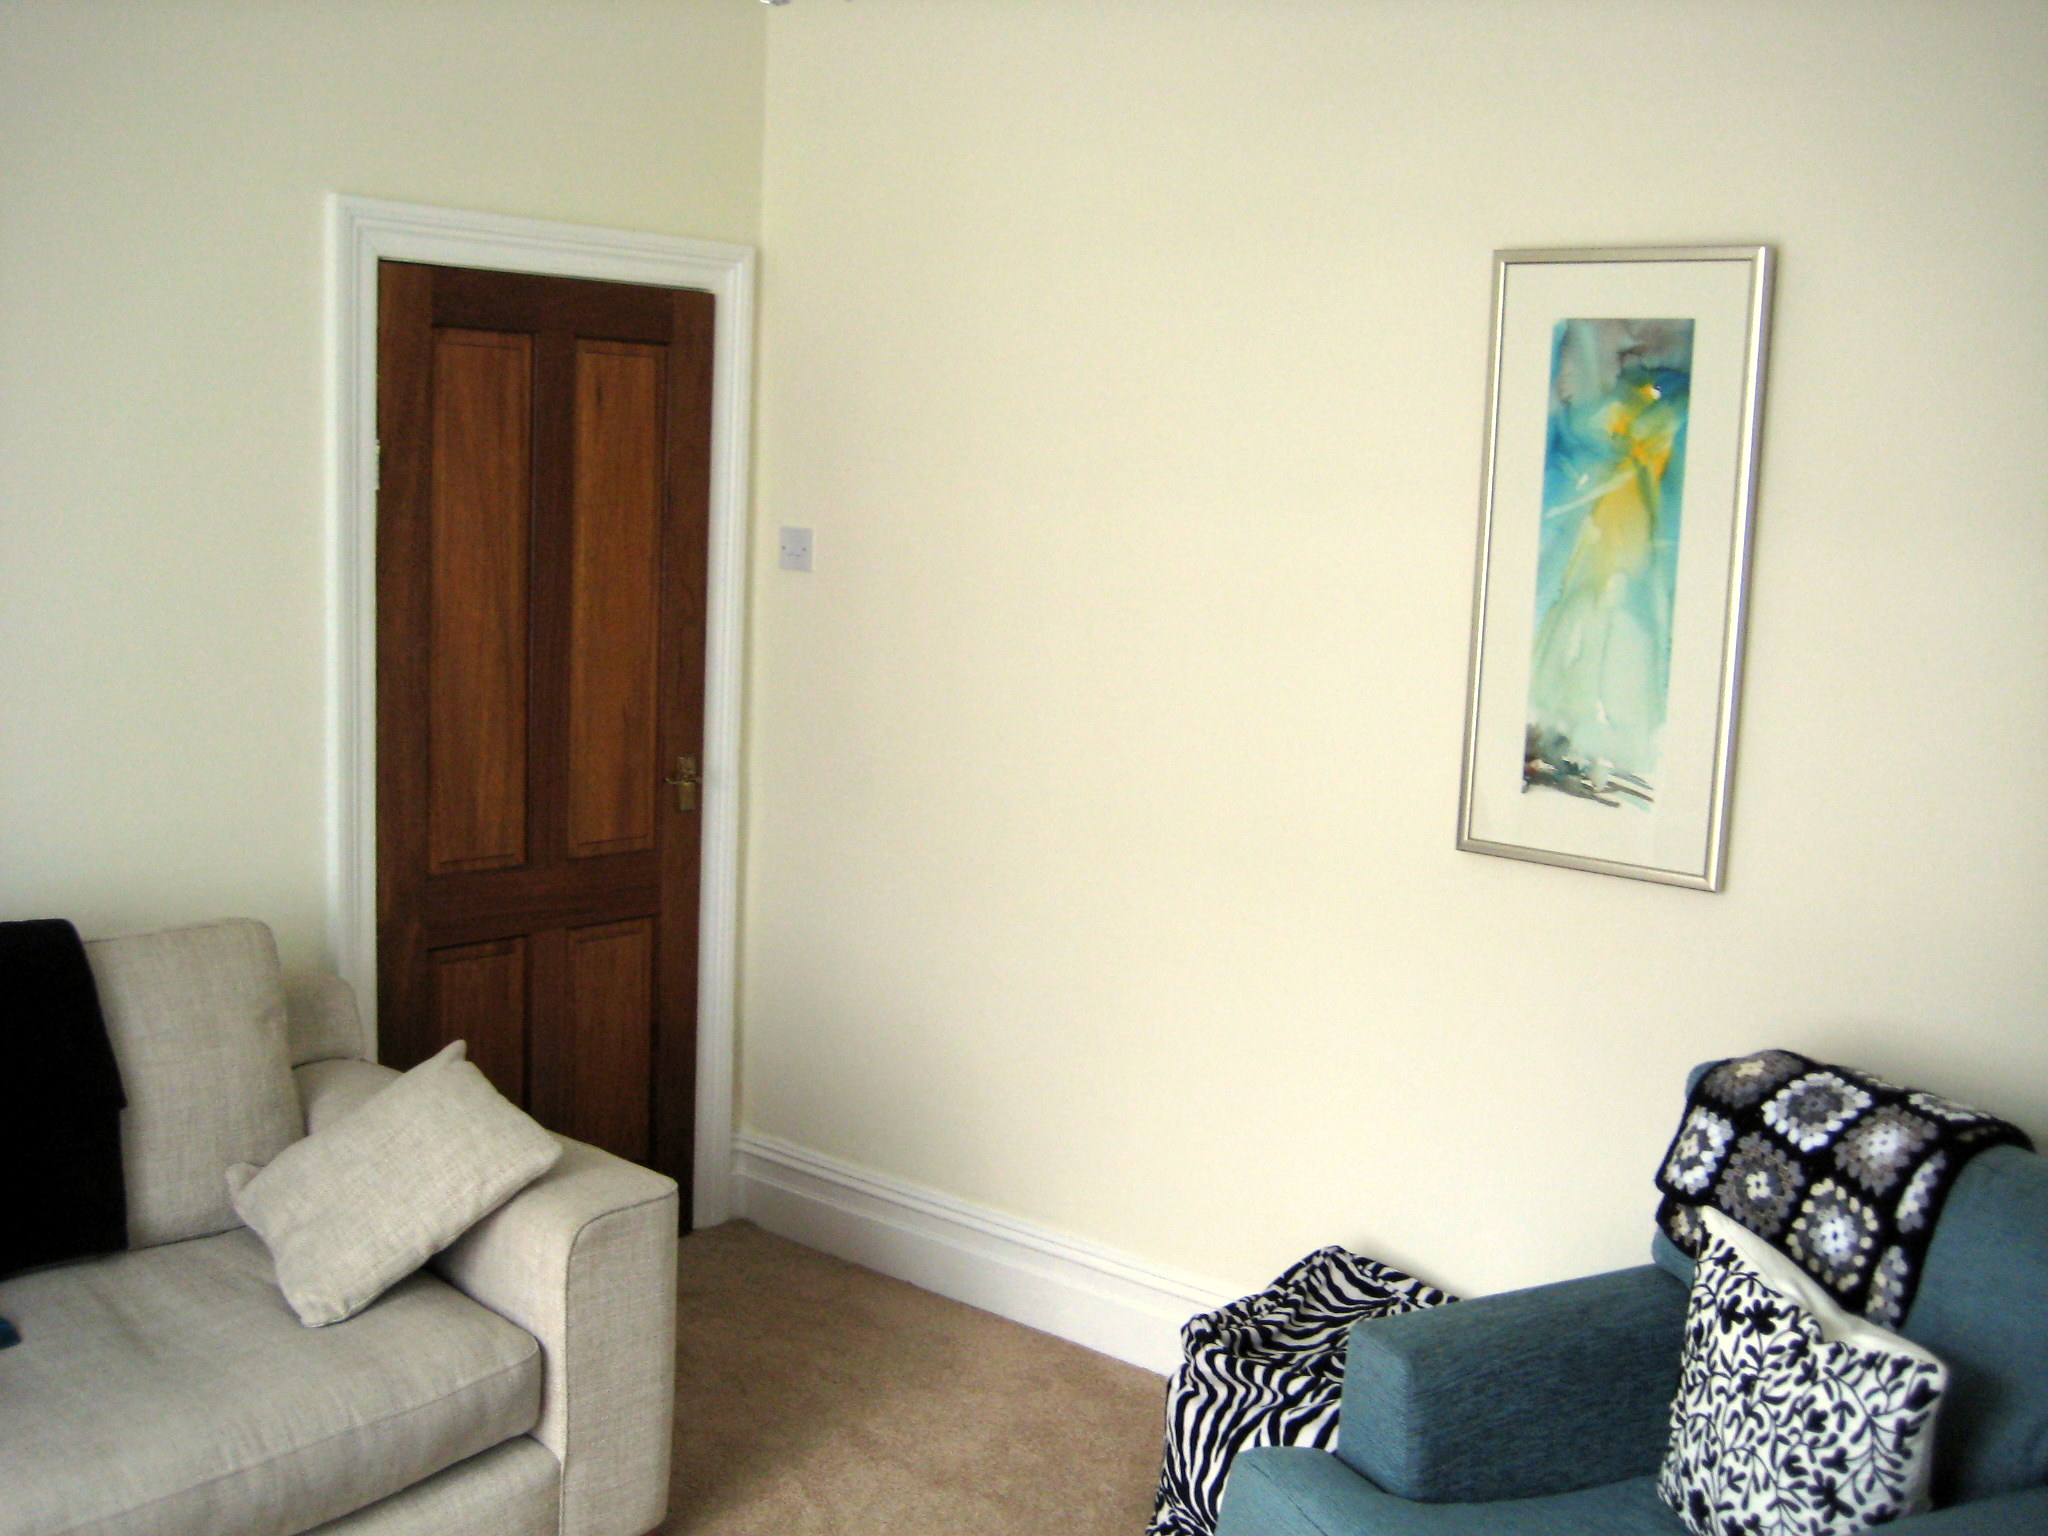
Towards the door

Nearly done?
The room isn’t finished yet. We are looking for more artwork, and I’m working on a blanket and cushions for the sofa. But since these will take a while I thought I’d share where we are up to!
And of course rooms are never really finished, are they?


Lovely transformation! I like the color scheme. Good job!
Thanks! It took a while but totally worth it! :)
I love the colours! And I can see why you were so inspired by that beautiful picture. :)
Me too. Really happy we went for a bright option, spent along time thinking about neutrals!
It looks quite spectacular, I love the colour palette you have used. well done to you both.
Thank you!
Thanks for sharing. I love a nosy around other people’s houses. The blue is brilliant and I can’t wait to see what throw and cushions you ultimately come up with!
I love to look at other people’s homes too! The throw is in progress but it could take a while, it’s going to be quite large and I’m easily distracted. It will be posted here when done!
How beautiful! What an amazing transformation! Congrats to you, your husband and family. Love the colours.
What a spectacular re-do! I’m especially impressed with the way you dealt with the beautiful but awkward bay window–nicely done!
I LOVE it!
You’ve done a spectacular job! I bet walking into this room makes you smile every time! :)
Love it Esther! Teal is one of my favourite colours.
By the way, I don’t see the house & landscape in the picture … I see a tall woman in a bright yellow top & long chiffony white skirt, her head is down & turned to the right, covered by a blue hat, and her arms are missing! And there’s a dog out of picture, on a long white lead.
Looks amazing!
Well done Matt! You guys have done such a lovely job there, love the colour too :)
Pingback: My Avalon Top | Make My Day Creative
Pingback: Water Lily | Make My Day Creative
Pingback: Chair Transformation | Make My Day Creative
I love your colours. As a matter of fact, I just bought teal and white curtains. My hubby wants to pain our walls teal too, but I told him we needed another colour too. Could you tell me what paint and colour numbers and names for the paint please. They look exactly like the colours I want. Thank you for sharing your home with us. I love the job you did.
Francine.
Hi Francine! I think I just replied to this same comment over on my Facebook page! The teal is turtle seas and the cream is picket fence, both by B&Q Colours. Really glad you like it! :)
Pingback: Puffy Flowers | Make My Day Creative