
Tiara headband – Picot fan stitch
I’ve recently been given the book 200 Crochet Stitches by Sarah Hazell. Just flicking through makes me want to start a bunch of new projects and I’ve been itching to try most of the stitch patterns.
It was my friends’ daughter’s 1st birthday last week and so it seemed the perfect opportunity to try out one or two of the stitches. This headband is made using the picot fan stitch and also woven stitch (I have come across this before as linen stitch). Woven stitch is nice and stretchy and provides the elasticity needed for a comfortable fit.
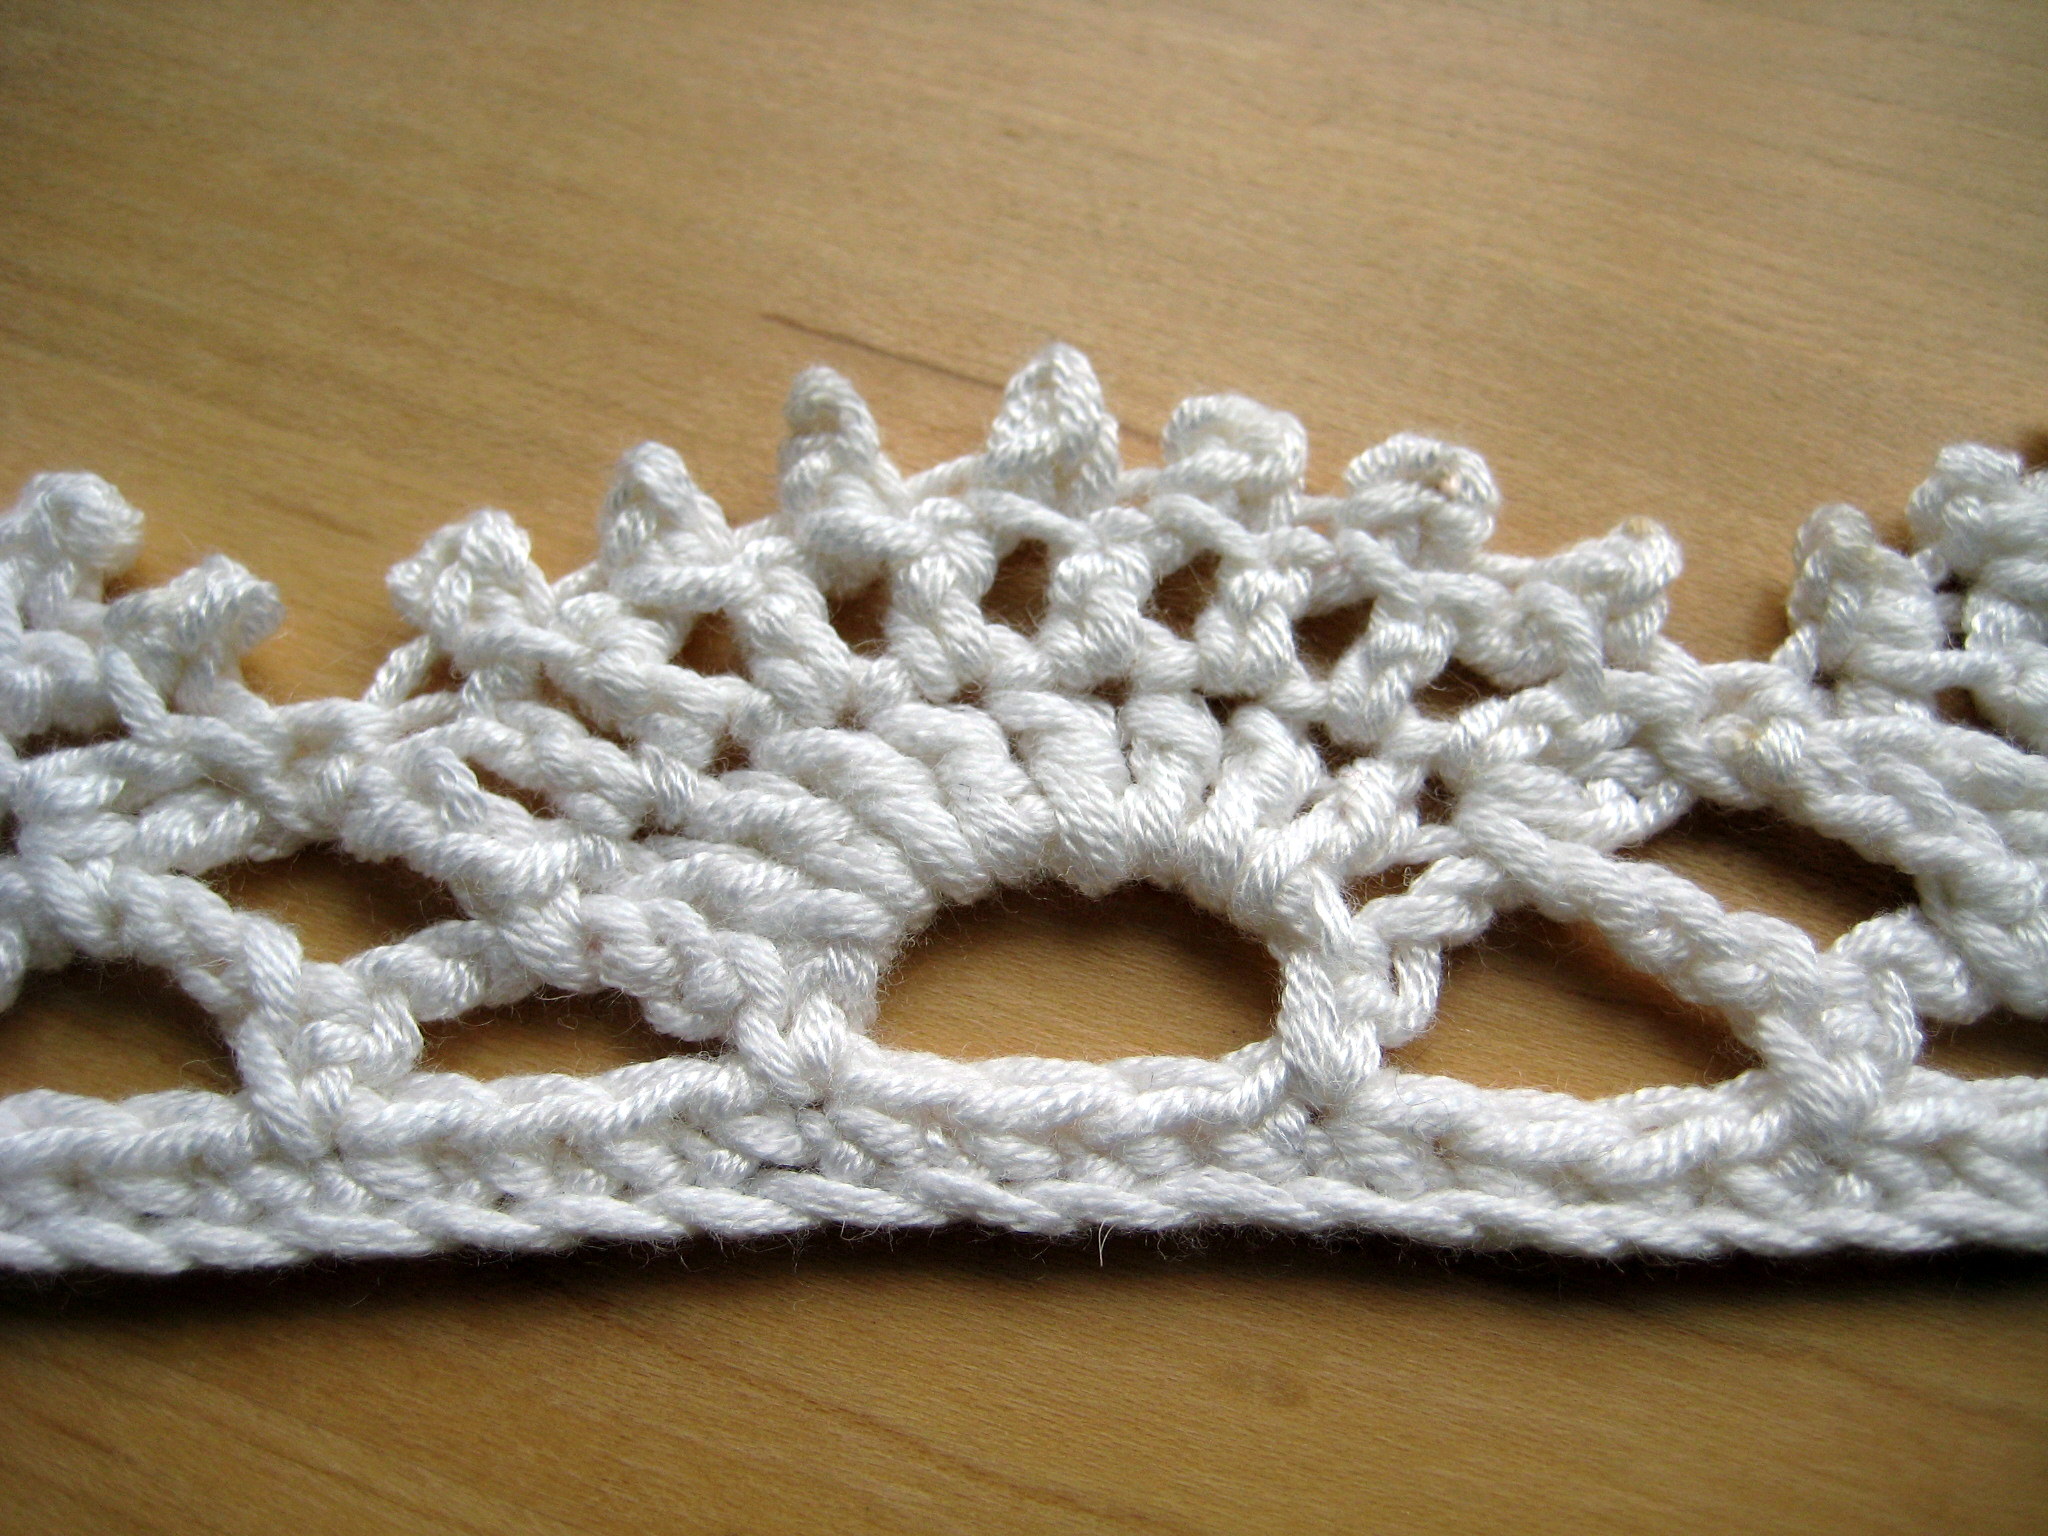
Picot fan stitch close up
This was made to fit a 1-year old but you can easily adjust to fit by adding extra rows of the woven stitch or by adding in more picot fans (if you are making for an adult).
The best bit is this is a pretty quick make and can be made using any dk stash yarn you may have to use up. Do allow time to block this one out though – it makes the picots nice and pointy.
Scroll down for pdf patterns! (US and UK notation)

Picot fan stitch would also make a nice edging
Materials
Any dk yarn (I used Debbie Bliss Prima in white)
Size 4.00mm hook
Special stitch: Picot
Ch3, insert hook down between the front and back loops of the st just made, yarn over, draw up a loop, draw this loop through the second loop on hook to close.
Pattern:
Ch 60 + 1
(This makes 5 “fans” – chain a multiple of 12n + 1 to adjust – for example to make a 6 fan version for an adult chain 72 + 1.)
R1: Turn, sc in 2nd ch from hook, sc in each ch to end (60 sts)
R2: ch1, turn, sc in 1st st, *ch5, sk 3sts, sc, repeat from * to end (15 ch sps)
R3: ch5, turn, sc in 1st ch sp, *8dc in next ch-sp, sc in next ch sp, ch5, sc in next ch sp, repeat from * 3 more times, 8dc in next ch-sp, sc in next ch sp, ch2, dc in final st (5 shells of dc’s, and 6 ch sps)
R4: ch1, turn, sc into dc just worked, (*dc in next dc, picot, repeat from * 6 times, dc in last dc of this shell, sc in ch sp), repeat between () 4 more times.
The main part of the tiara is done. I recommend blocking at this point – I wet blocked mine and pinned out all the picots. You can leave the yarn attached, just draw up a large loop and only dunk the headband in the cold water, not the yarn ball!
The woven stitch part of the headband provides the stretch and if you block this at the end the headband may be too drapy and not have enough elasticity. However, you can always stitch in a piece of elastic, if you prefer to block at the end.
Now turn the piece 90° to work along the edge of the headband.
R5: 2sc into the 3rd ch of the chain sp you are already in (this should make a nice corner),2 sc in ch sp, sc into the side of the next sc, sc into the side of the sc of R1, sc into the foundation ch (7sts).
R6: ch1, turn, sc in 1st st, *ch1, sk1st, sc, repeat from *2more times (4sc and 3 ch sps)
R7: ch1, turn , sc in 1st ch sp, *ch1, sk1st, sc, repeat from *2more times, ch1, sk final sc st and sc in turning ch (4sc and 3 ch sps)
Repeat R7 until the band is long enough for the piece to fit on the head without being too tight. (I made mine 16inches in total length, which stretched to 19inches total, to fit a 1yr old.)
Fasten off and sew the piece together to make a band. I used mattress stitch for an invisible finish, but also because I didn’t want there to be a bulky seam pressing into the head.
If you like you can stitch in some elastic to the back part of your woven stitch for extra stretch – particularly if you waited till the end to block.
How about adding some beads to the picots?
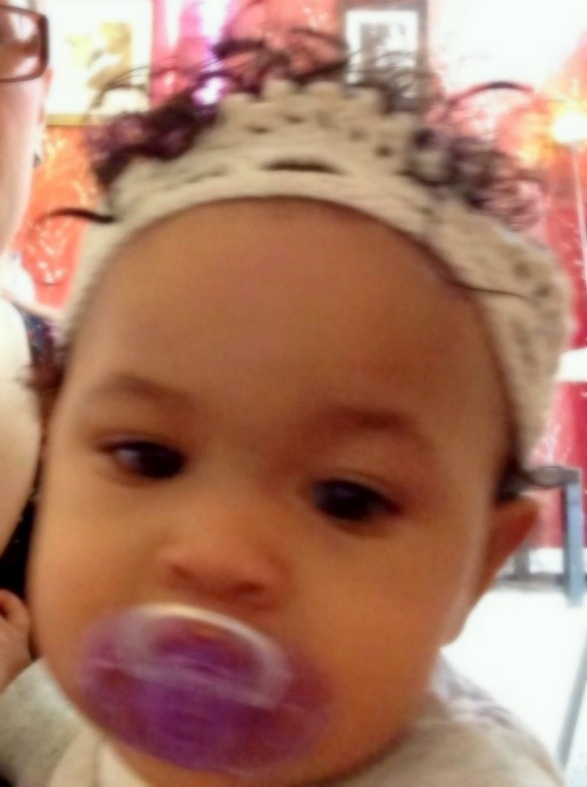
Looking pretty as a princess


She looks adorable in it!
I was reading this, thinking “there better be a picture of a baby, wearing this tiara” and there she was! What a great idea and perfect princess!
Haha yes, luckily got sent a quick one taken by my friend! :)
Aww, so cute! (both the headband and the baby!)
Well I can only take credit for the headband! :)
What a great idea! :) Thanks for the pattern. My nieces will love this!
Thanks! Yes I expect they will. Must make one for my niece too! :)
My 2 y/o niece, Lorilie, will look TOOOOOO CUTE in this!!! I CAN NOT WAIT to make this! (I’m going to make it this afternoon!) You did an absolutely FANTASTIC job!!!
(By the way…thought you’d like to know .. I came across it on the “Crochet Me” community website!) ;- )
Thanks Shelly! I’m sure your niece will look gorgeous in it. :)